Planning a narrative experience in VR requires its own pipeline and structure. Logically I already knew this, but I still went into development with the same animation mindset. I spent this week focusing on fleshing out the narrative itself, creating storyboards, and determining which technical paths are viable - a process that reworked itself along the way.
Gathering References
I began gathering some reference this week, looking for potential lighting inspiration and trying to determine how these scenes are created. Goro Fujito’s work was great inspiration, but I realized that watching his renders and videos are exactly the same as watching a traditional animation - I needed to experience the scene itself, see where the lighting takes place behind the viewer, above the viewer. How does the scene play as a whole?
Tilt Brush to the rescue. Tilt Brush provides the ability for users to select scenes uploaded by other artists and watch them being painted in VR or skip ahead to the final result. I went through many of the scenes while in the Vive, focusing on those whose lighting most closely matched my own or whose style would be useful to observe.


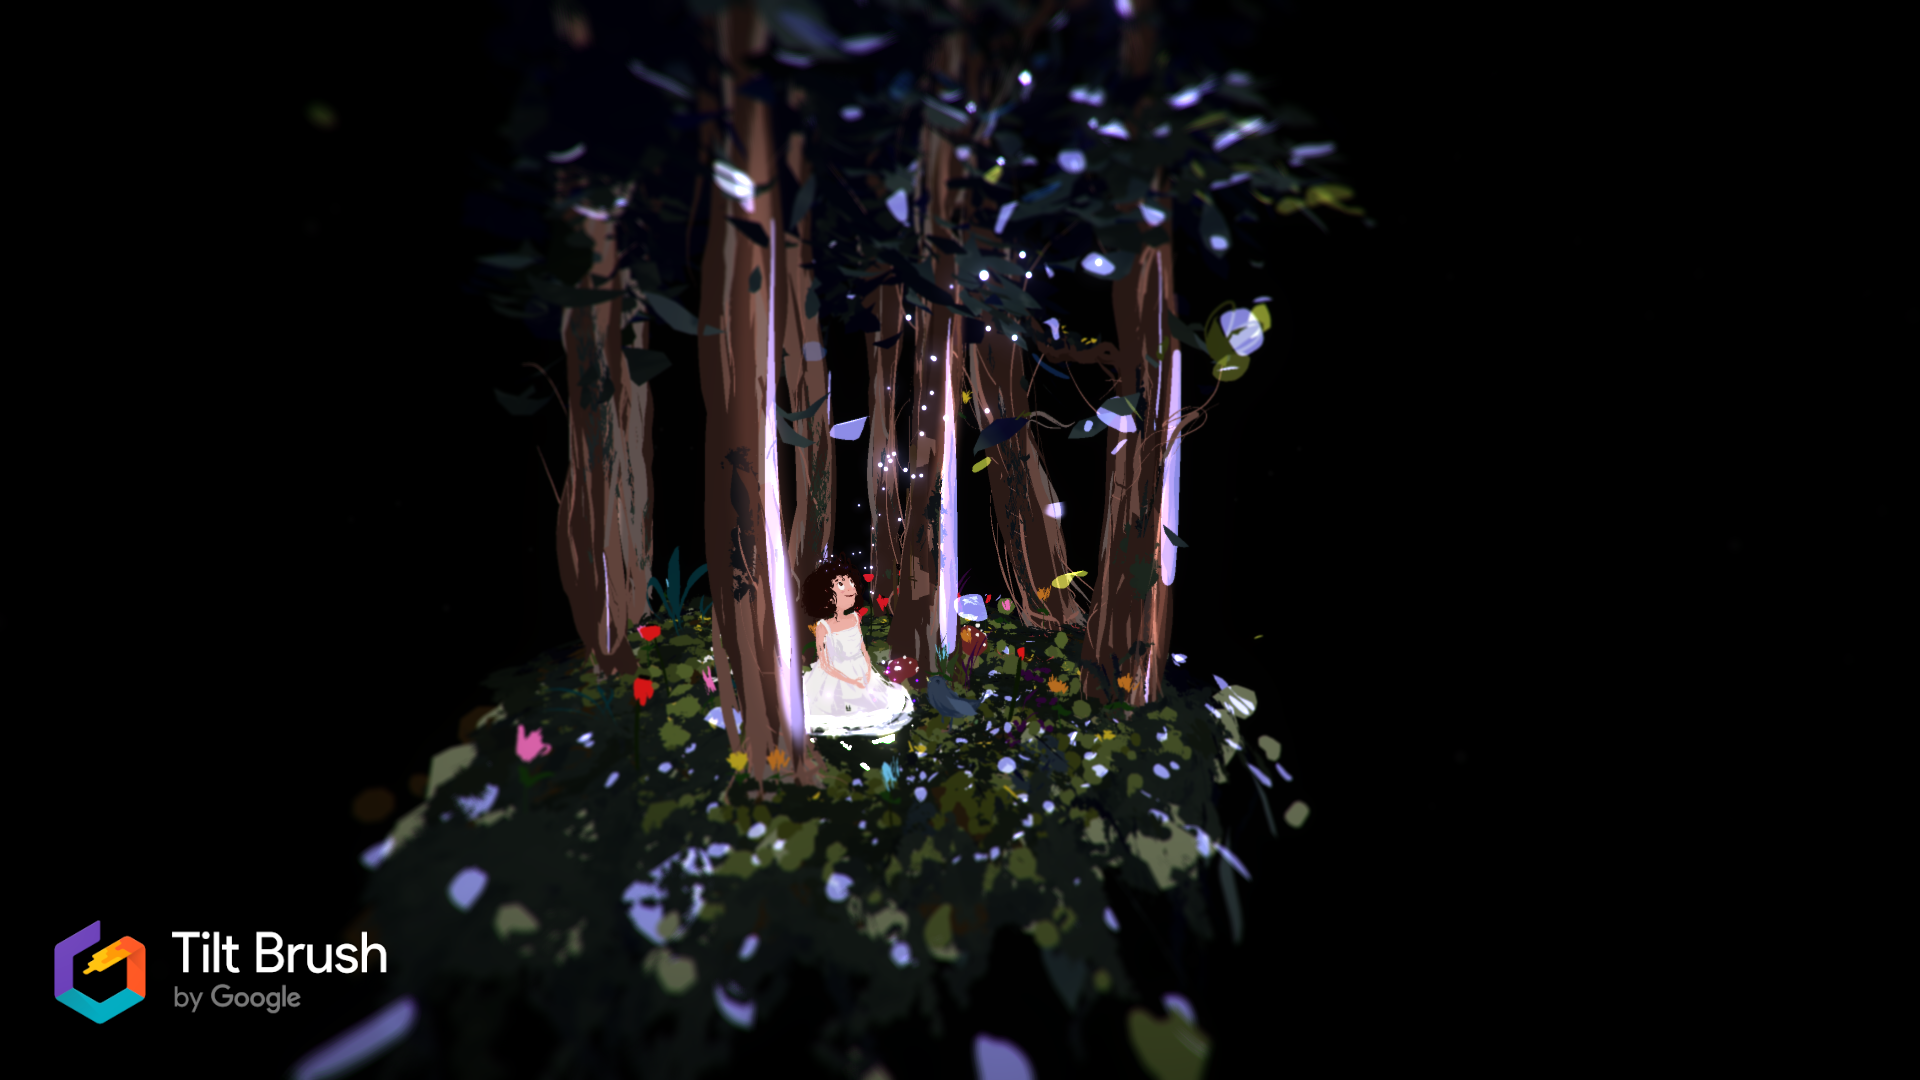
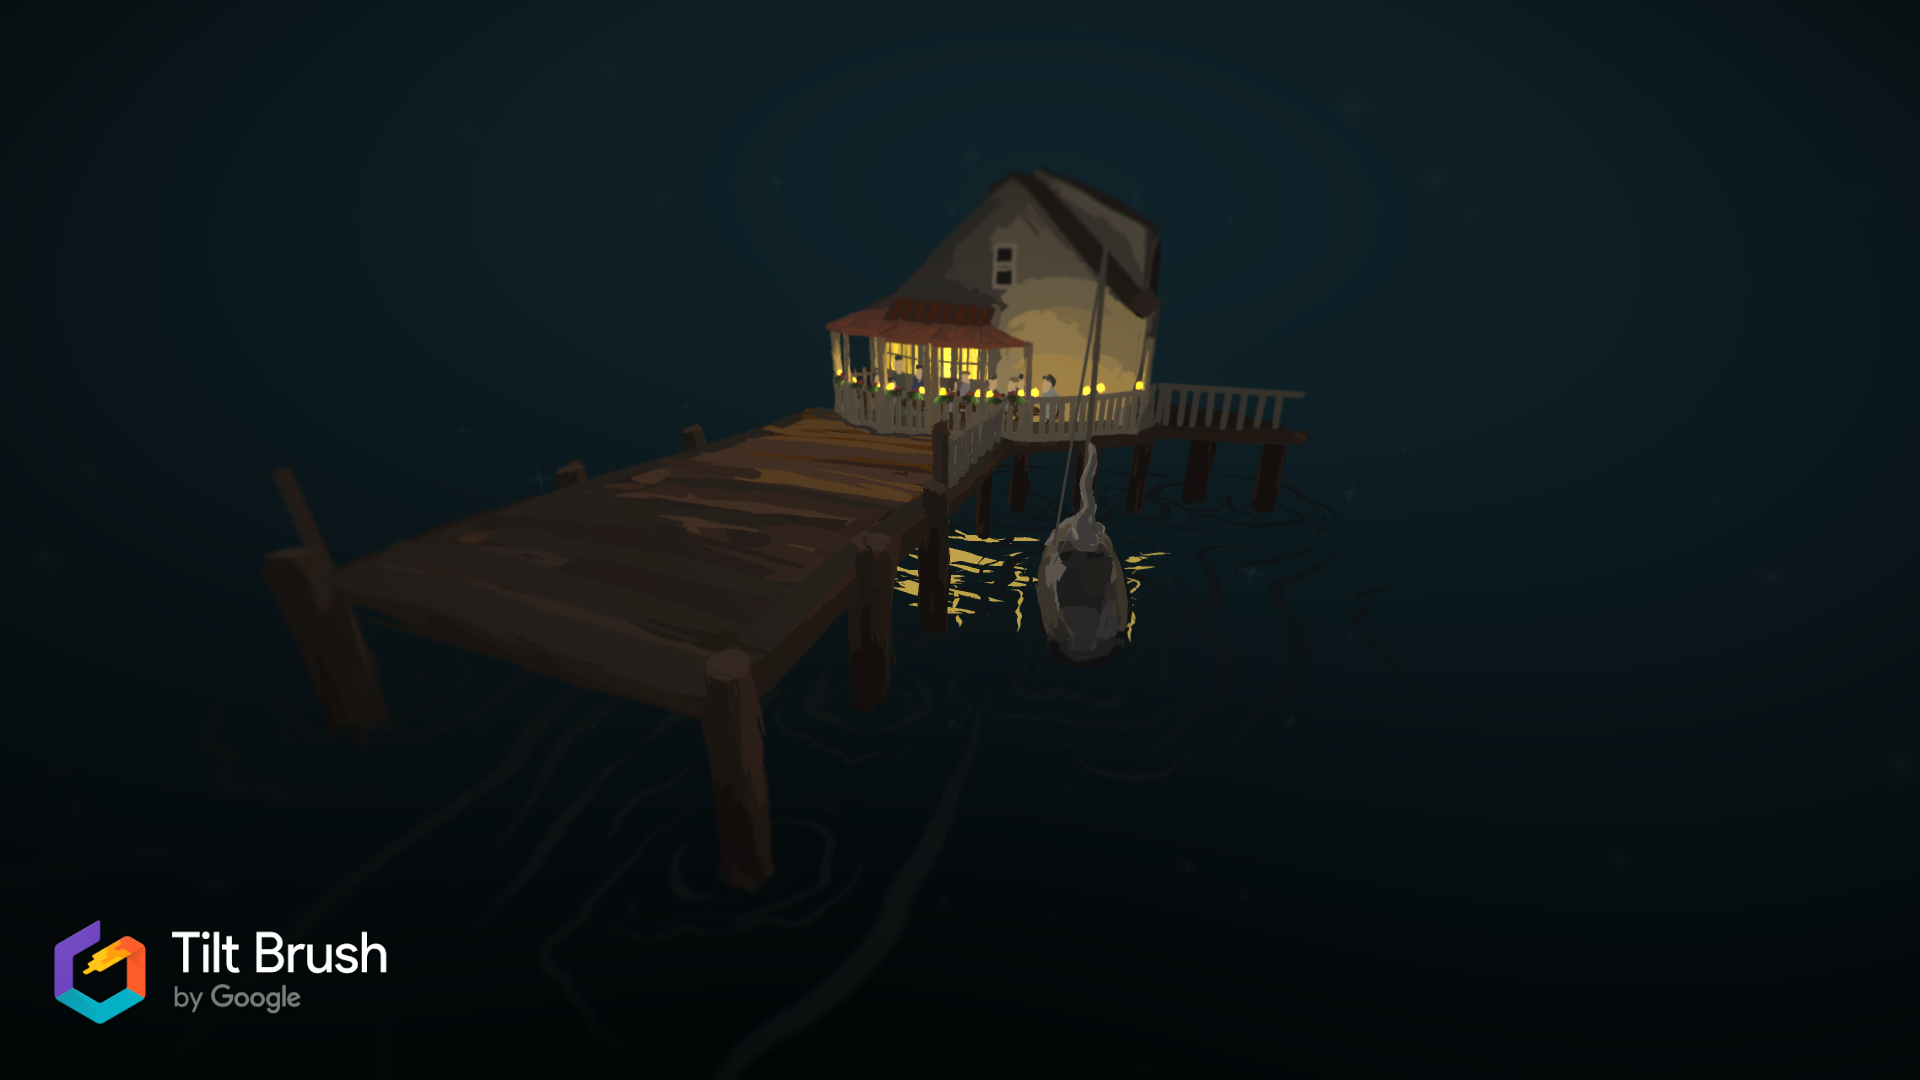
Keeping in mind that Quill does not seem to have the wide variety of playful brushes available here, watching how the artists structured these scenes gave me some ideas for potential visual styles and techniques. After-Hours Artist is the only one I experienced that used 3D models that were then painted on top of, something I meant to explore further in Quill. Backyard View showed a series of single paint strokes layered in front of each other, then using a “fog” brush to emit a tiny bit of light and create depth. It was incredibly effective and dramatic in this case. And in Straits of Mackinac, the artist created the illusion of water by setting the background to a dark blue and implying reflection with only a few brush strokes.
Just by being in VR I found I was able to more fully deconstruct the scenes than I would in a still render, setting the path for my way forward.
Story(board)
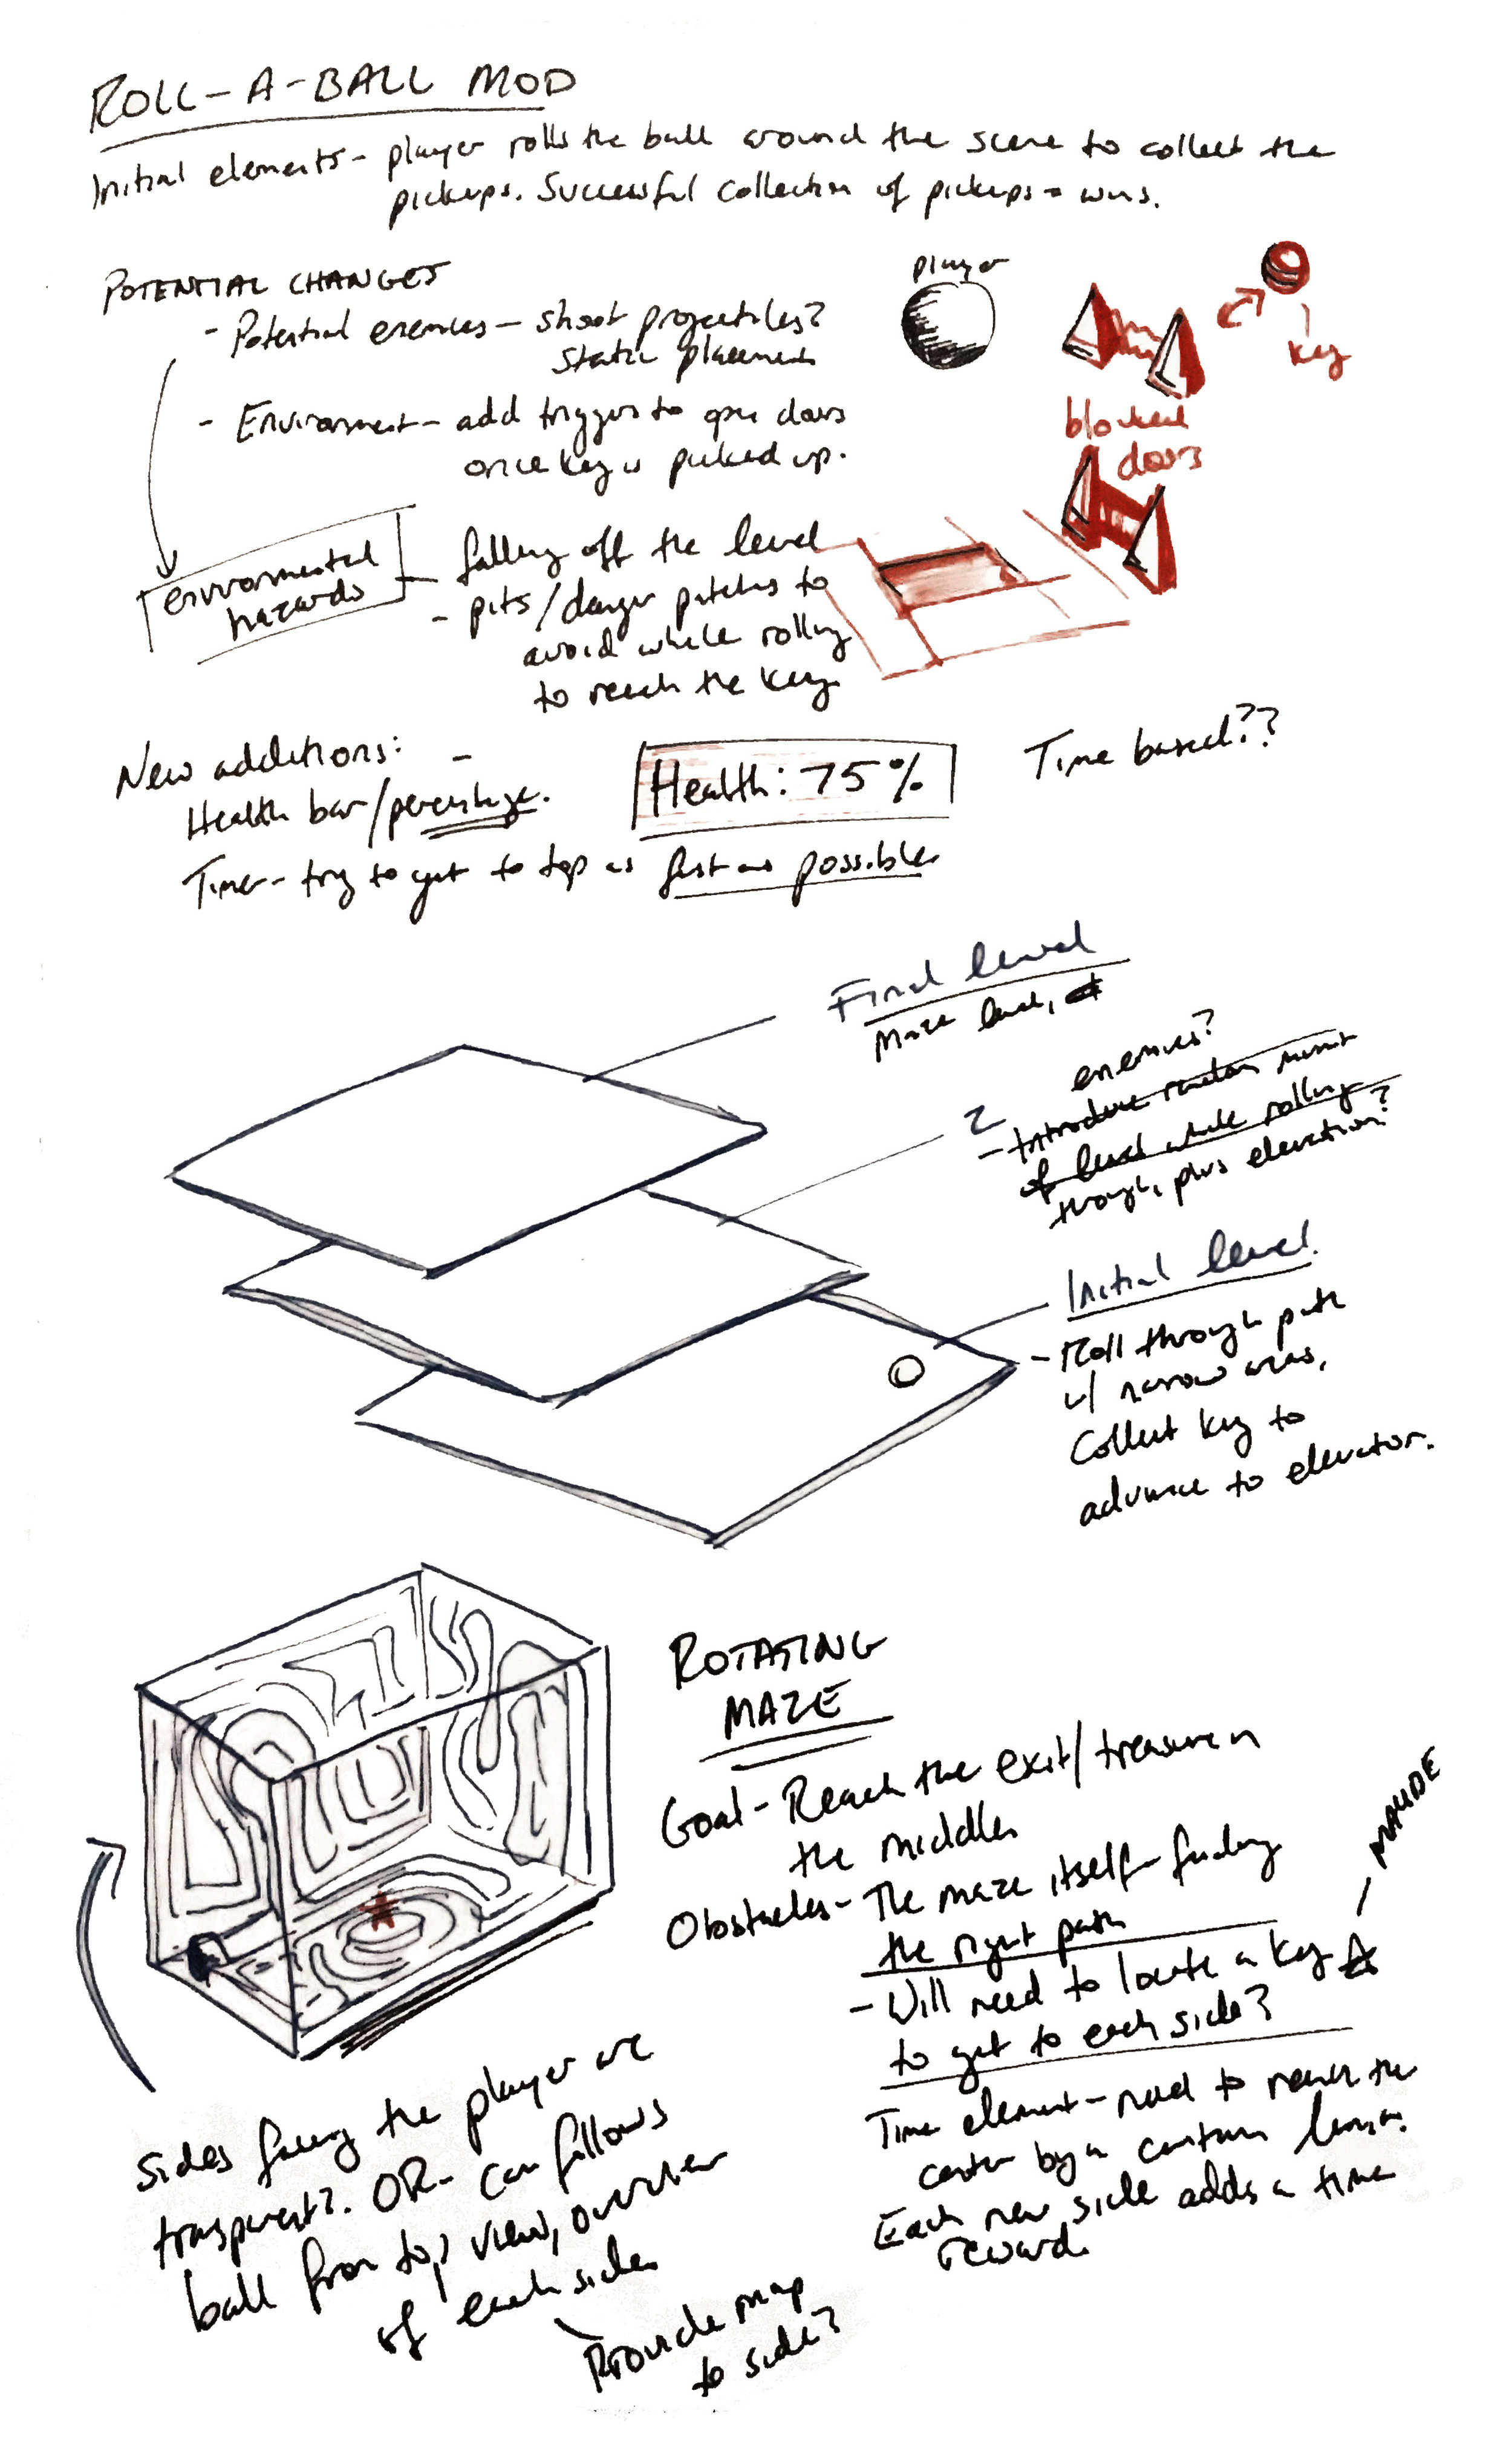
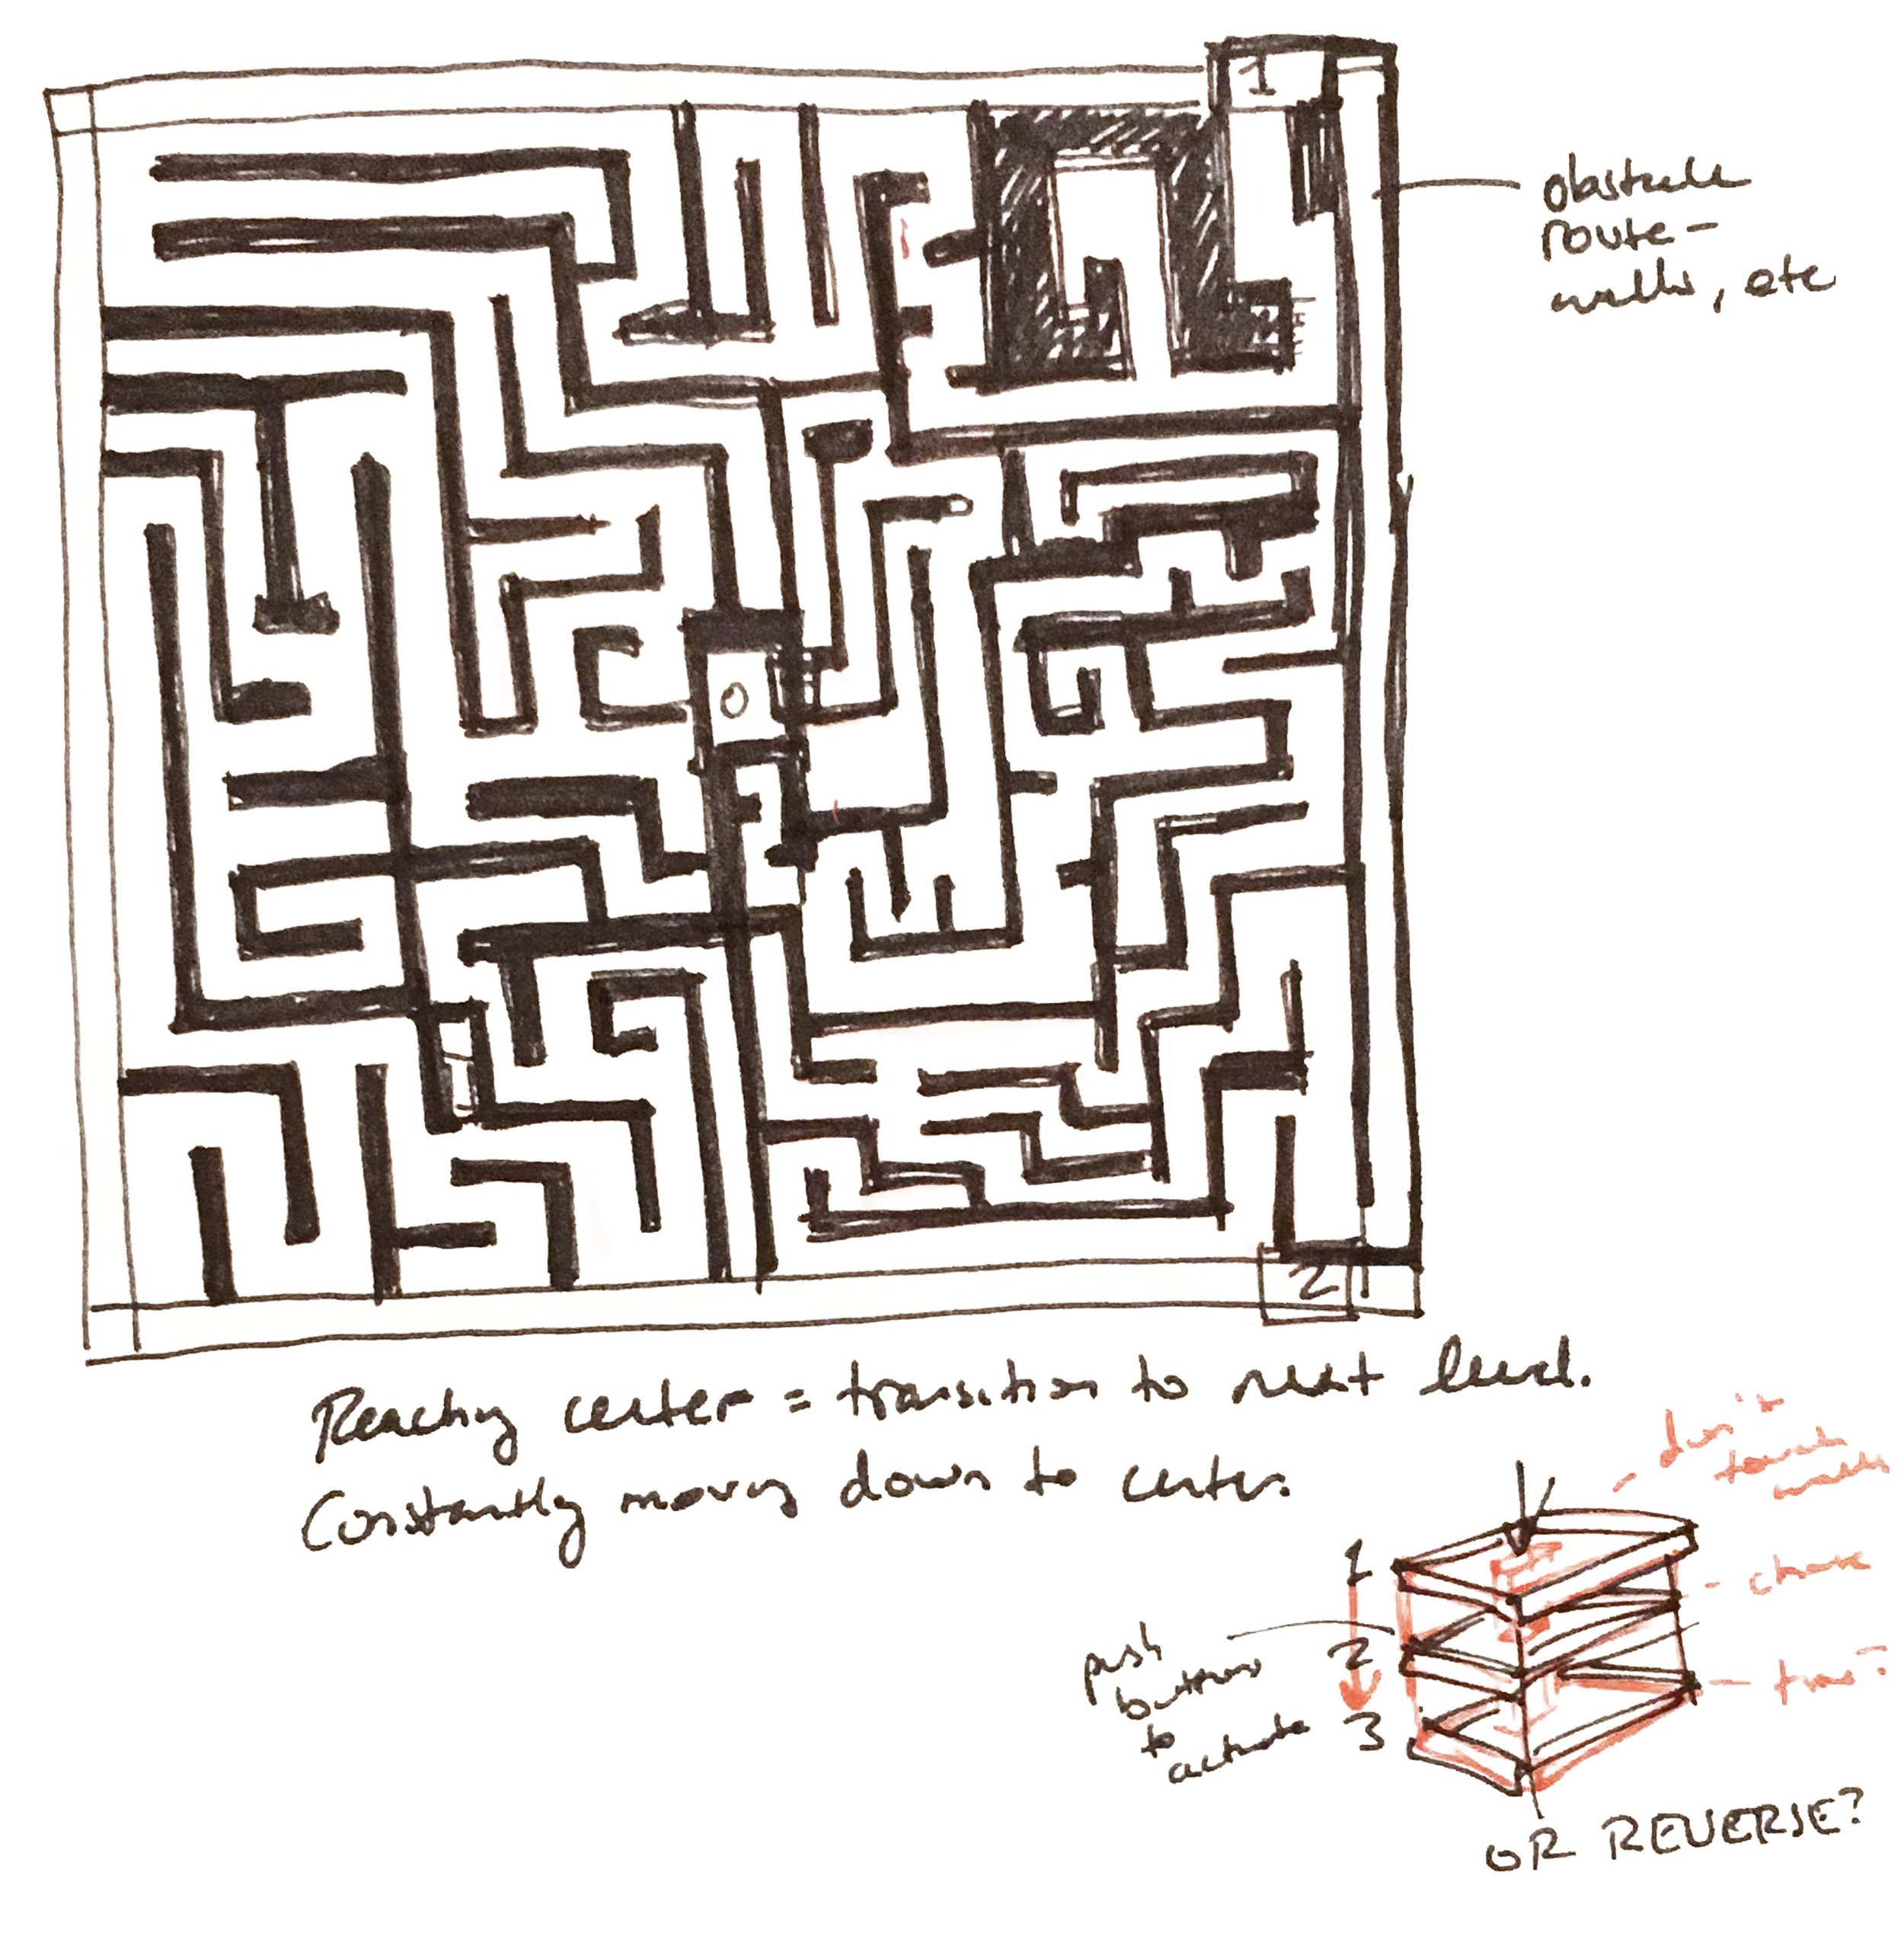
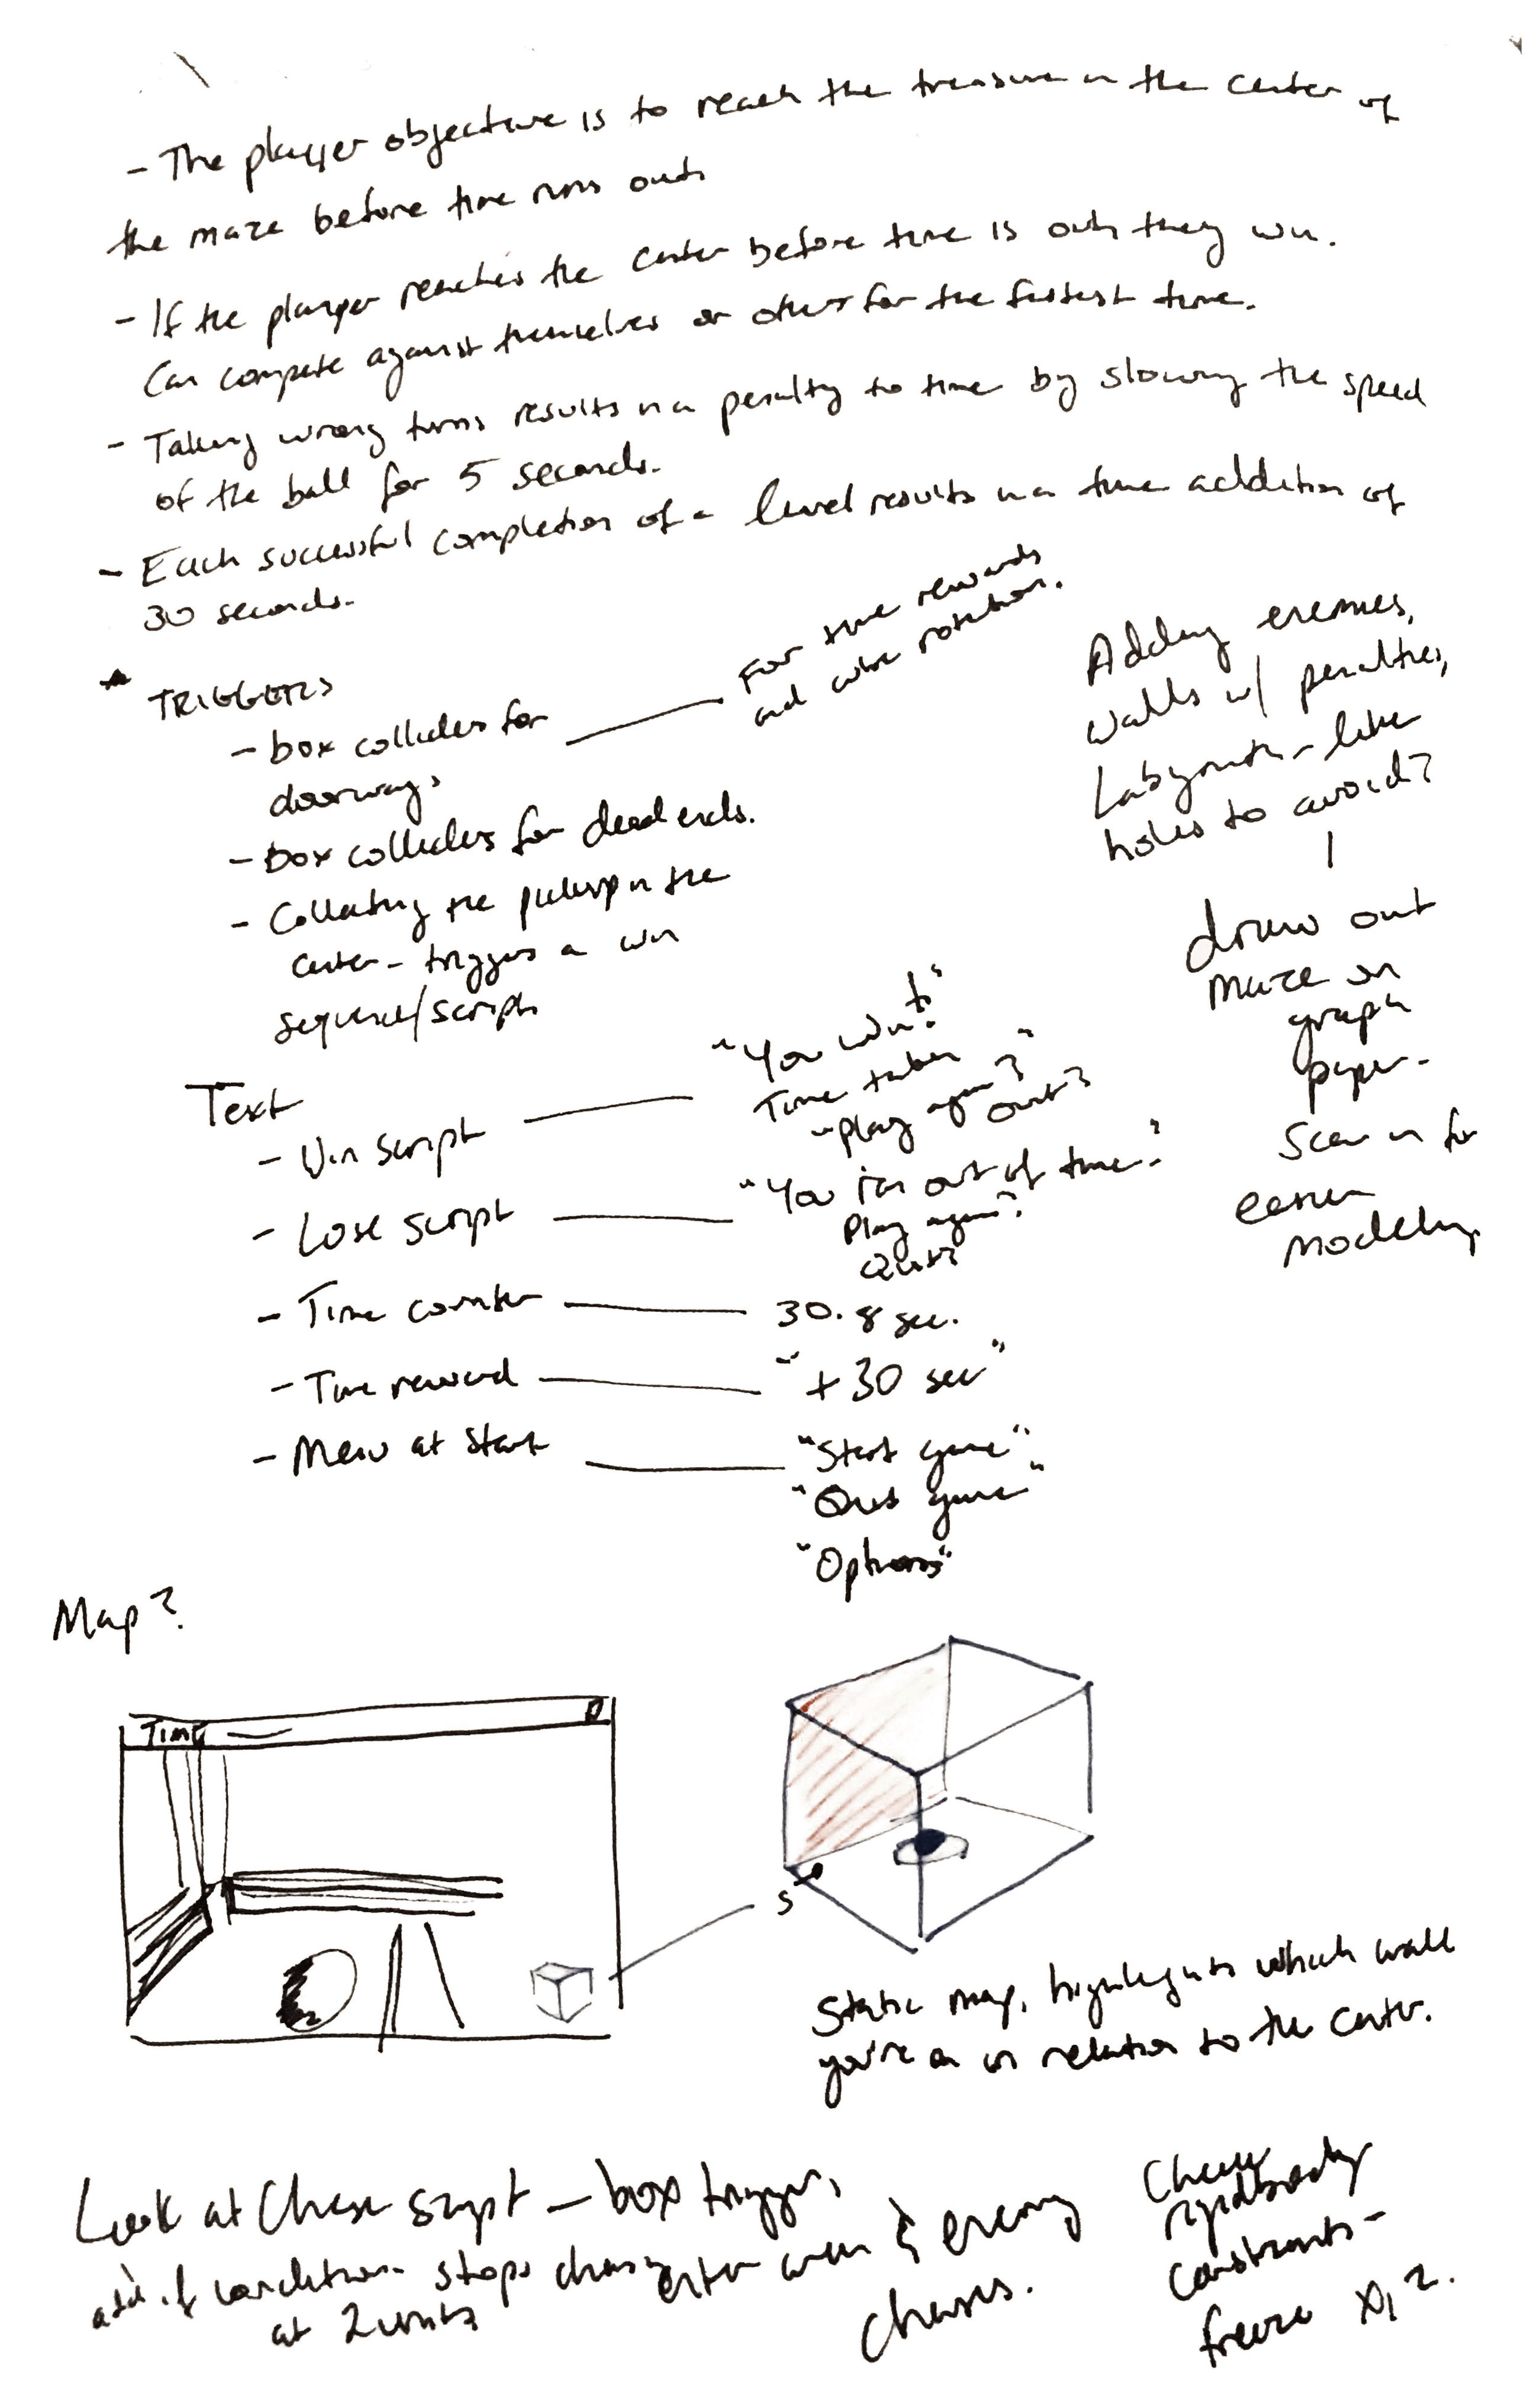
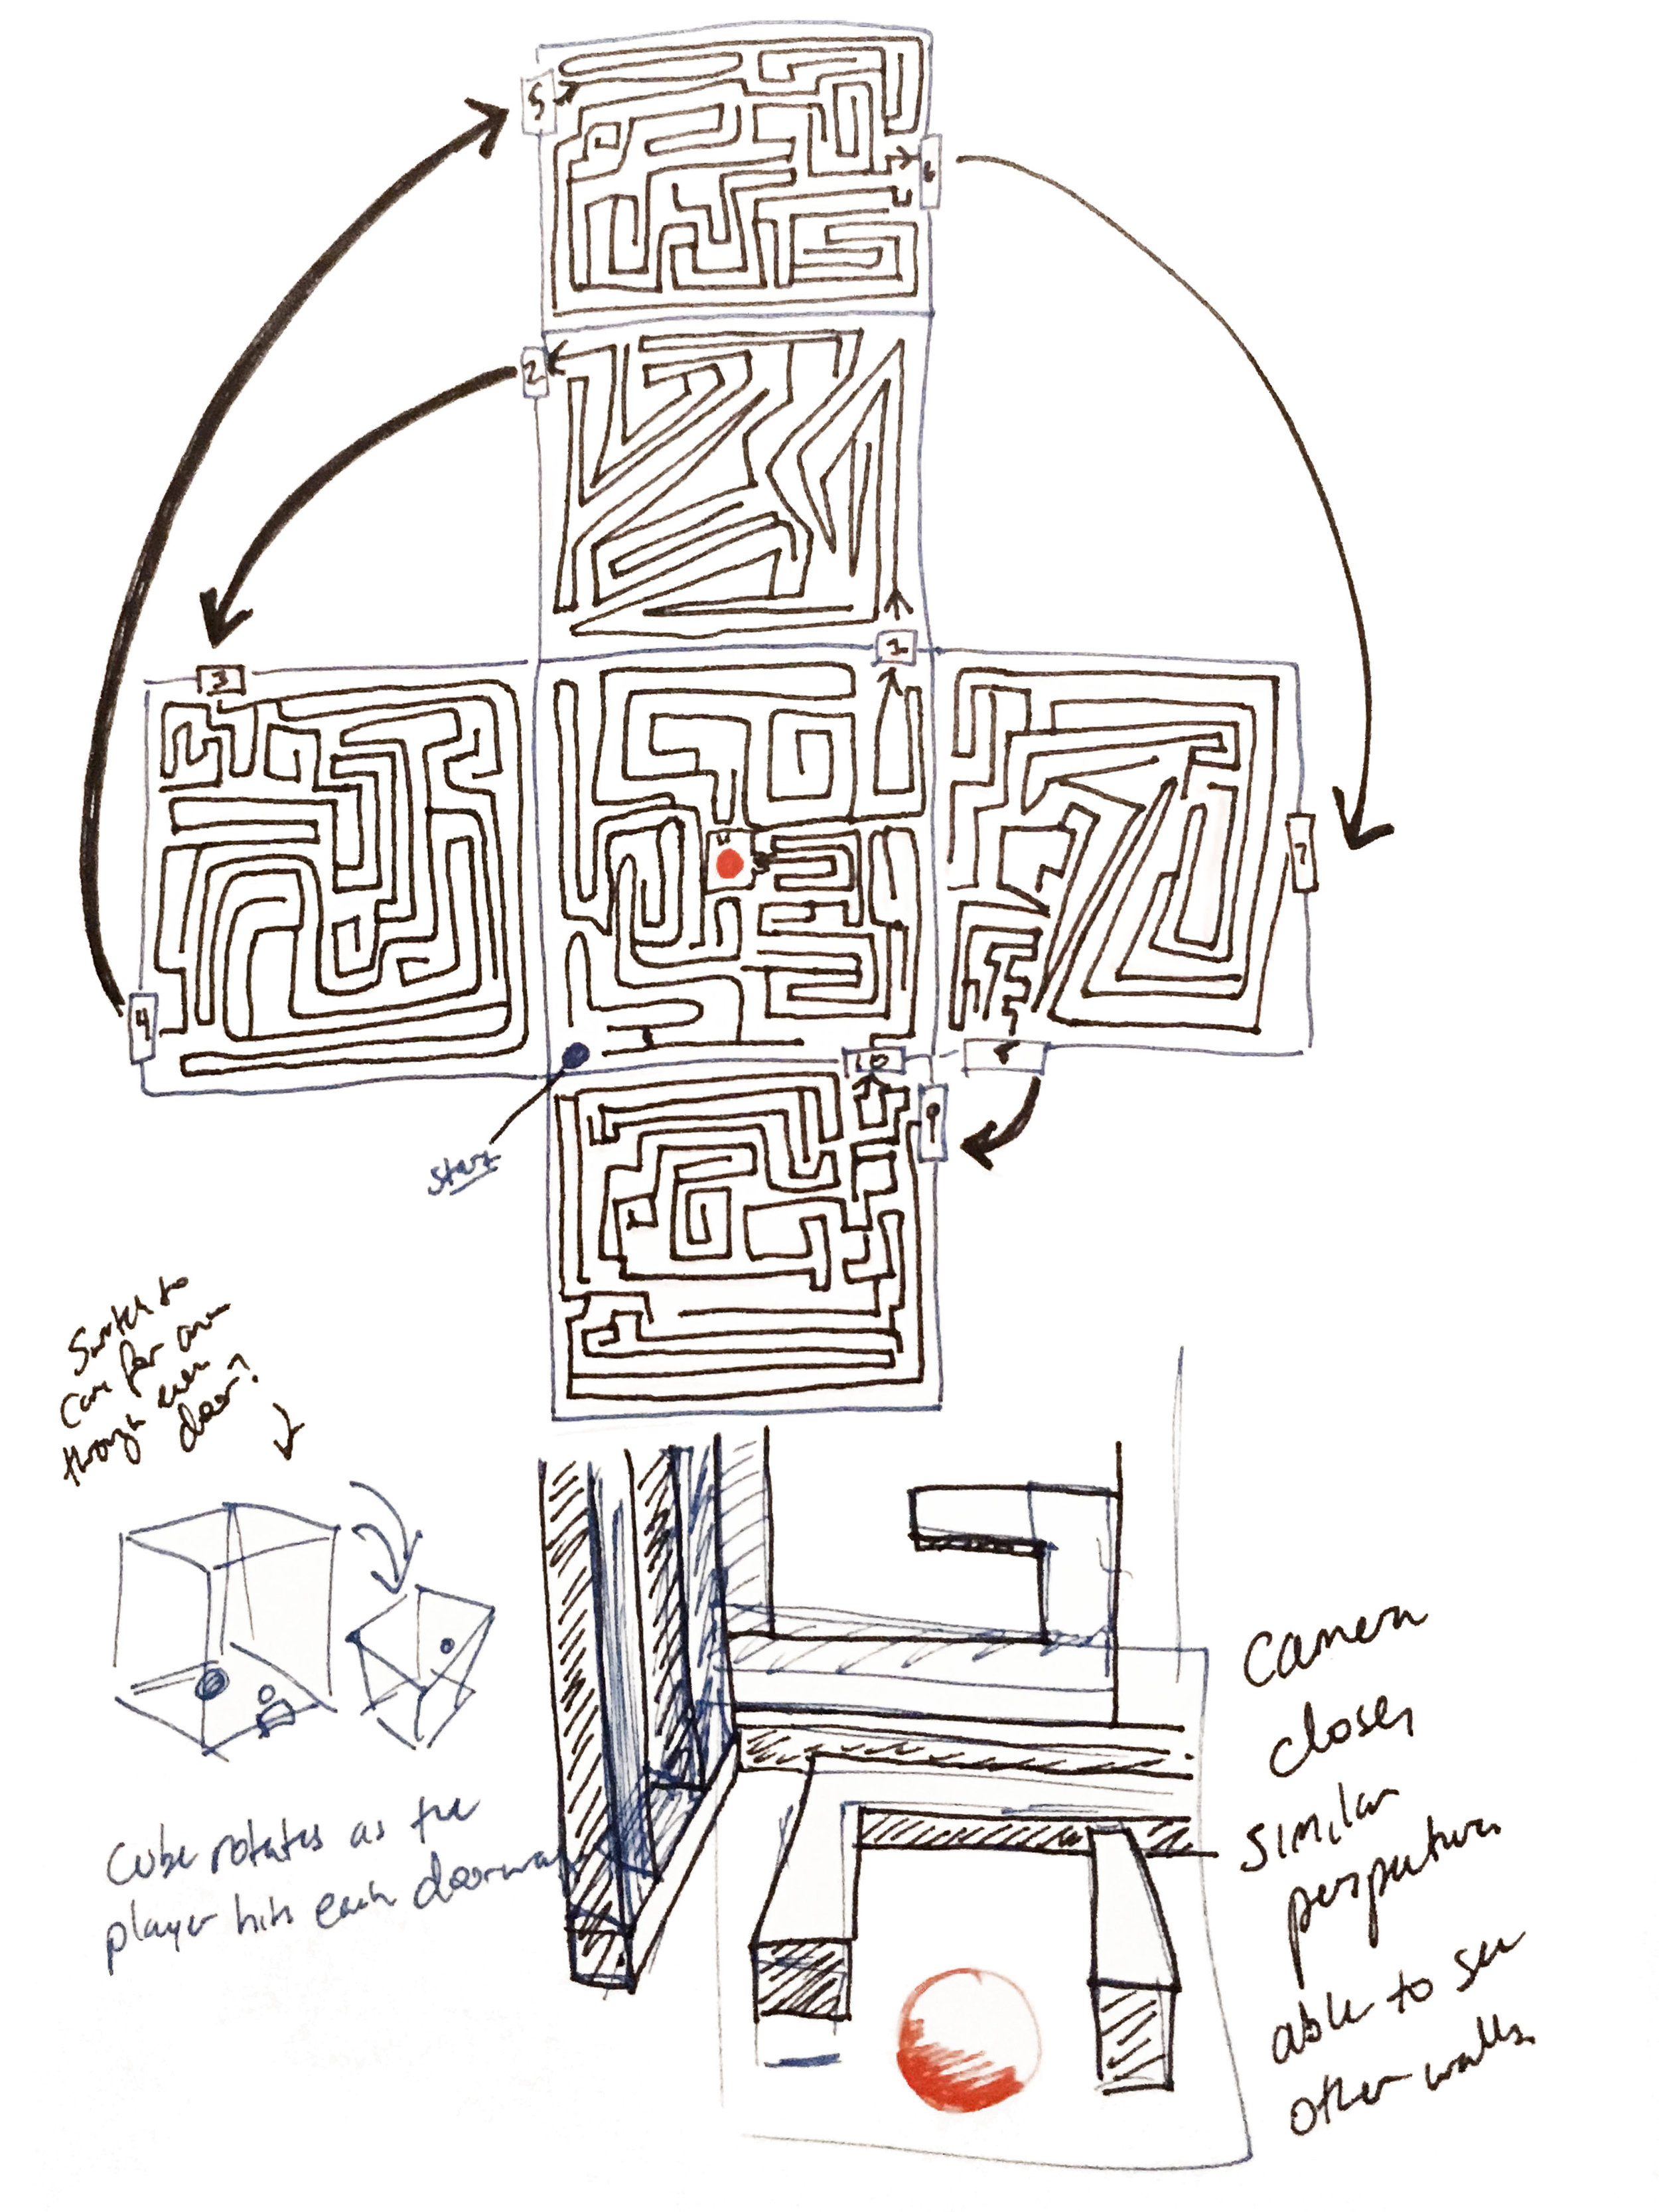
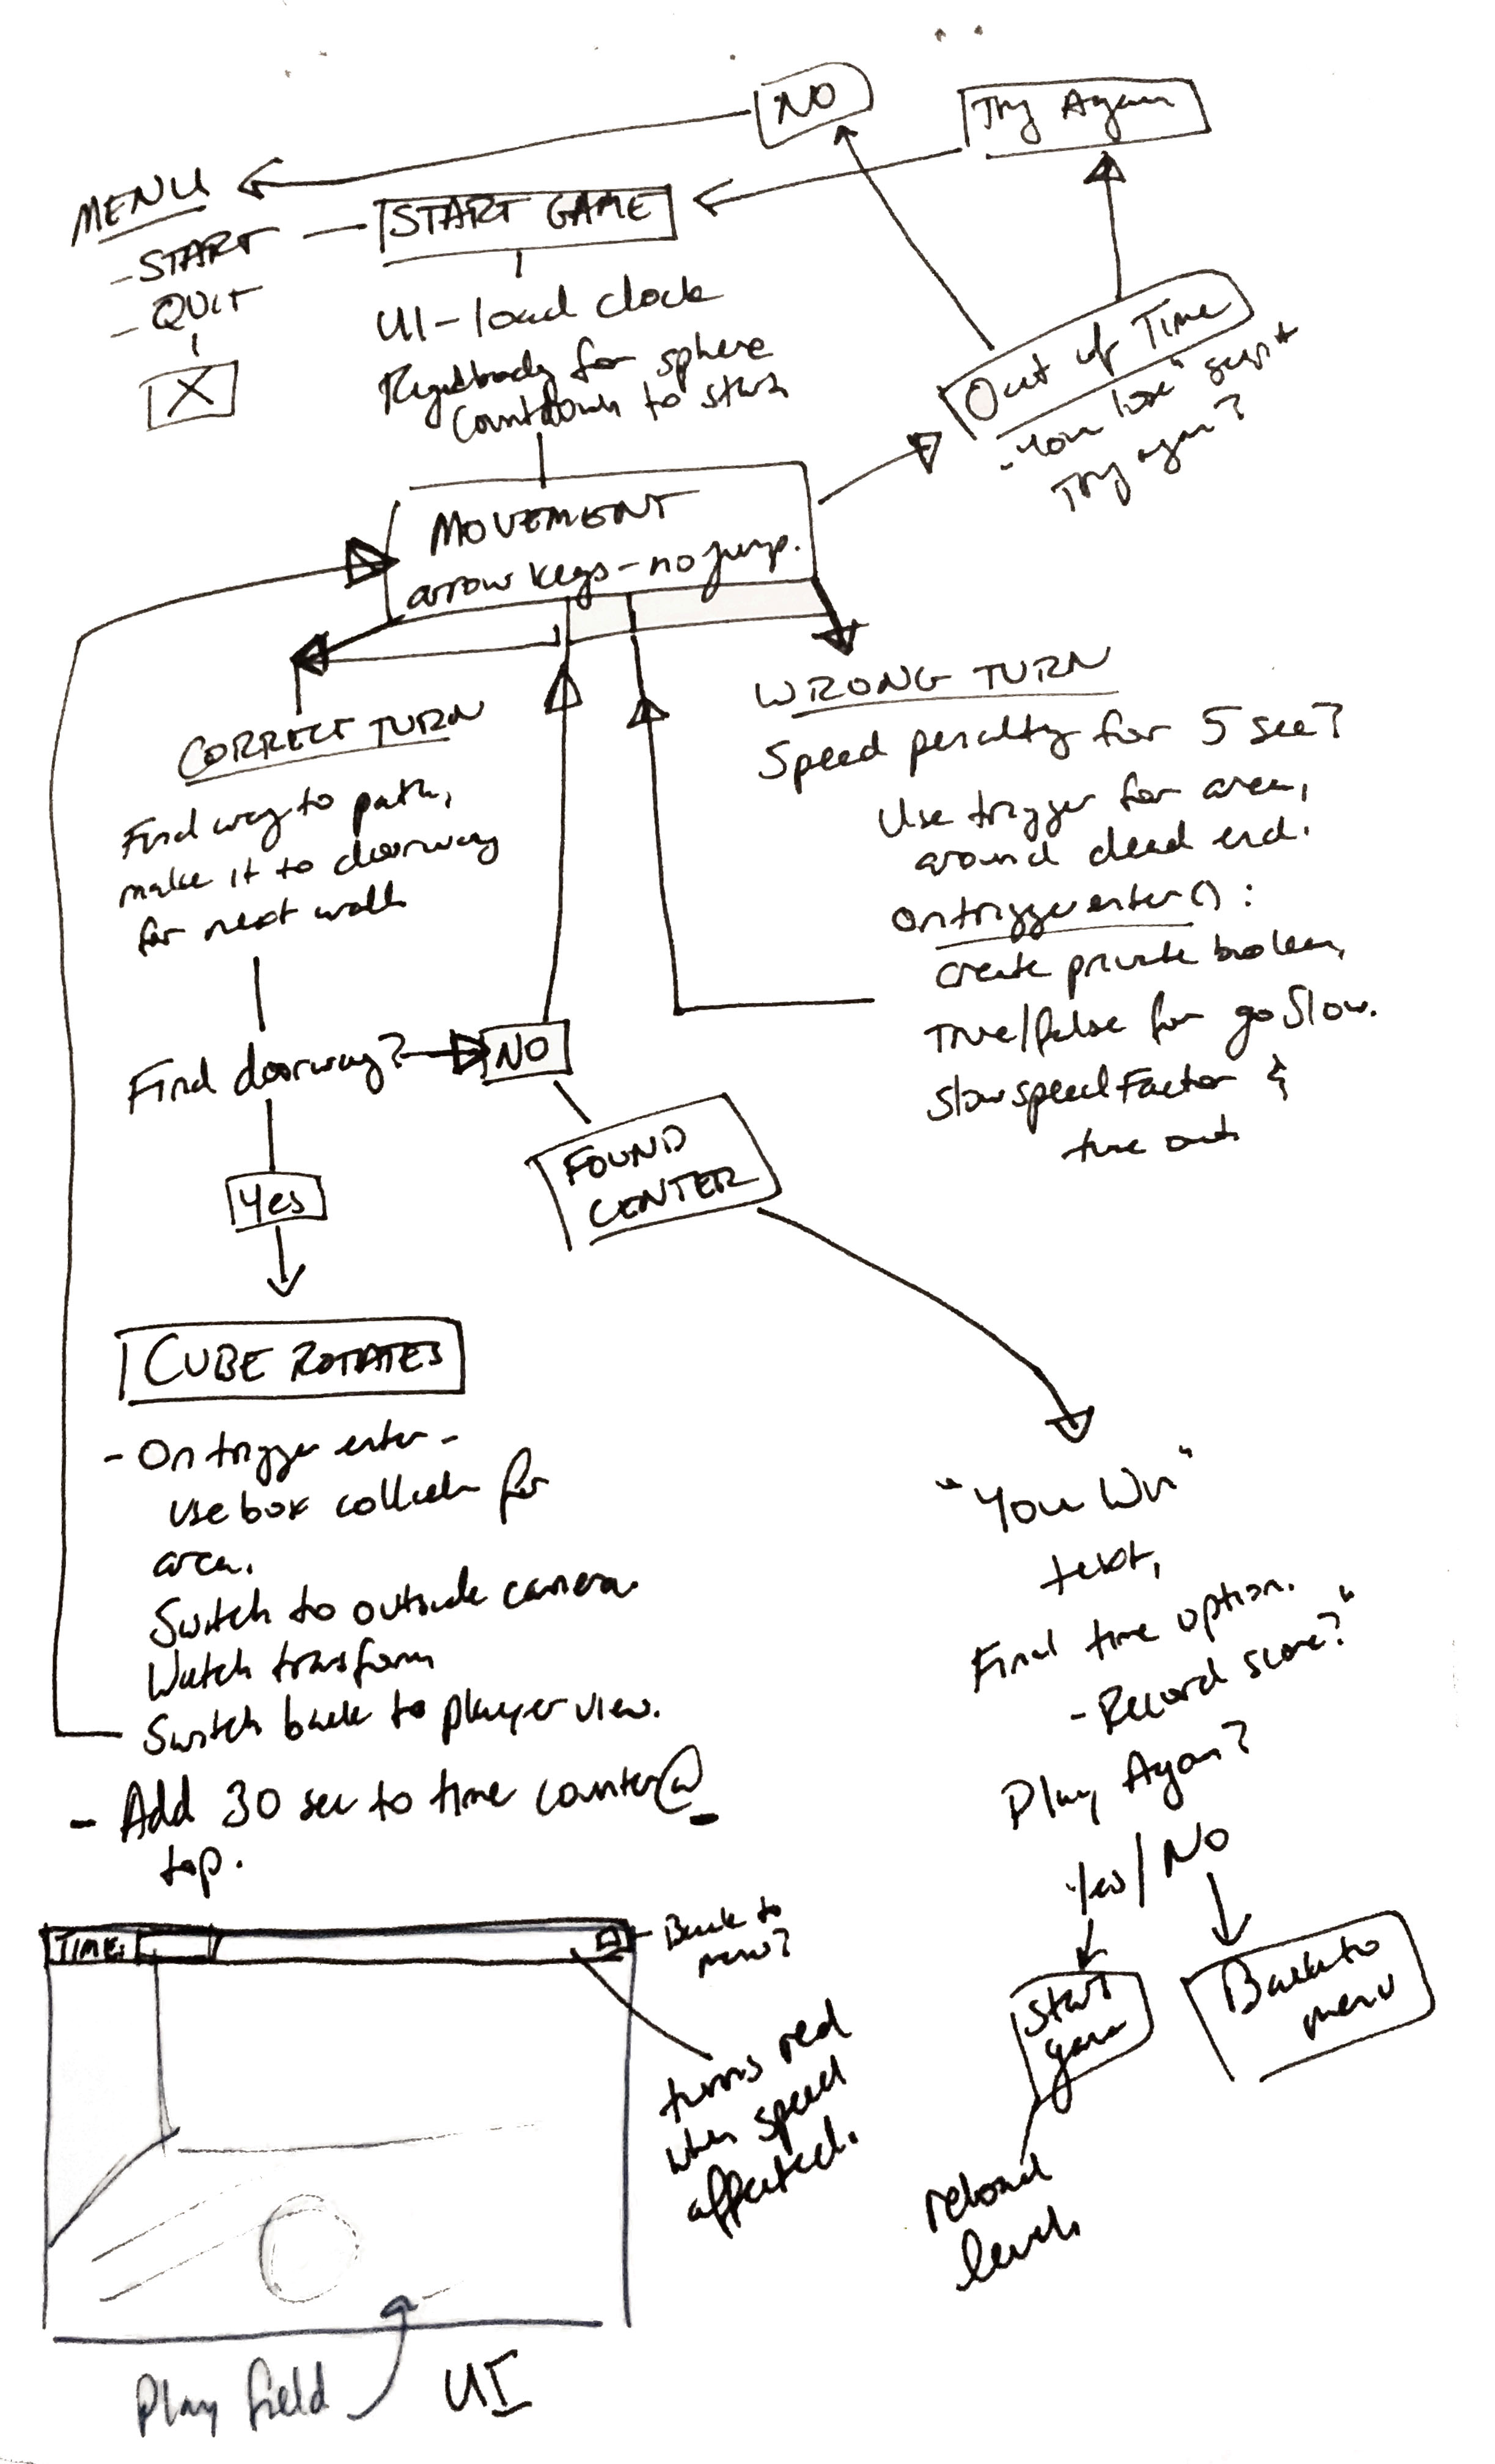
At the same time, I have been fleshing out what it is I want to happen in this experience. The result was the following initial concept:
As I was working through the story, I grew frustrated.
Storyboards are a standard part of the animation pipeline, and I fell into the process of making one without realizing that the end result would be nearly useless for conveying what I am trying to create for this experience. Storyboards assume that designers have control of the frame, that what is presented to the viewer is a carefully constructed composition flowing from one scene to the next. At this point in VR, the designers have next to no control over the camera. I can choose which direction the viewer may start out facing. I can provide a limited scene with nothing else to focus attention on. I can attempt to draw their attention with sound cues and peripheral movement. At the end of the day, the viewer gets to control which details they experience within this world. Creating these storyboards did help me generally work out what I would like to happen within the experience, though I do not believe they are useful in helping me convey that to others.
I’m currently taking a Narrative Performance in VR class that is discussing many of these topics, and one helpful thing from this week was a Variety interview quote from John Kahrs discussing the making of Age of Sail. Kahrs comes from an animation background and talks about having to break that pipeline in order to develop an animated VR cinematic. “I was told not to storyboard it and just dive into the 3D layout process, which, I think, was excellent advice.” In that same lecture, this diagram from AWN article
Back to the Moon’ VR Doodle Celebrates Georges Méliès was presented:
The designers for that experience split the scene into sections and mapped out the action occurring in each part of the scene at every time. Thinking about the scene in this way, as a production rather than a composition, changes the way I’m approaching both the narrative itself and the production process.
Time to change tactics. VR manipulates space, not a frame. It then follows that I should begin feeling out that space in order to “storyboard” my animations.
I moved into Microsoft Maquette.


Maquette offers ease of material. I can place basic 3D shapes at all scales, manipulate a painting and text tool, and create multiple scenes that can be easily scanned back and forth to watch progression. I can view these scenes from a distance or at the viewer’s level. After experimenting with the tools, I began building a primitive scene to understand spatially what manipulations I wanted to happen. The result is an odd combination of an animatic and a storyboard.
Technical Progress
I did some experimenting in Tilt Brush, first with painting and then with the export pipeline. I am currently still waiting on Quill and Unreal Engine to be available in the lab, but will be spending this weekend working on my Oculus at home to see the results. Tilt Brush gave me some practice working with painting in a virtual space, specifically dealing with depth and object manipulation. I chose to create one of the chairs from my scene with the candle sitting on it as a test subject.
Painting in Tilt Brush of a candle sitting on the arm of a chair.
I turned most of the lights down in Tilt Brush to get a feel for what the scene would actually be like, and see what the various brushes would produce in terms of light. Not very much, as we can barely see in the image above.
What I really wanted to test was the export process from Tilt Brush to Unreal Engine. Tilt Brush exports as an FBX with the textures, but upon importing to UE4 I realized that the FBX is split into pieces based on which brush you used for each stroke. Further, the materials don’t seem to work without undergoing a process in between to assign a vertex color map to the object. I’m still a bit hazy on this process, though from my understanding Quill exports in a different file format that will seemingly not require this middle step.
Unreal Test - bringing a Tilt Brush model in, without functional textures.
Unity, however, has a package made to work with Tilt Brush materials called Tilt Brush Toolkit. Once downloaded from Github and loaded into a fresh Unity scene, I was able to import my model without any issues from the textures. All I had to do was drag it into the hierarchy.
Unity Test - bringing in the Tilt Brush object after importing Tilt Brush Toolkit.
Next Steps
My steps forward are really just finishing up where I’m at now and making some real steps towards solid production.
Spending time animating in Quill. The next week will be getting some of these base animations down in Quill and trying to export into Unreal.
Determining which 3D models I’ll be creating and starting work on that, while blocking out their presence in UE4.
Finish creating Maquette scene mockups. Finalize story.