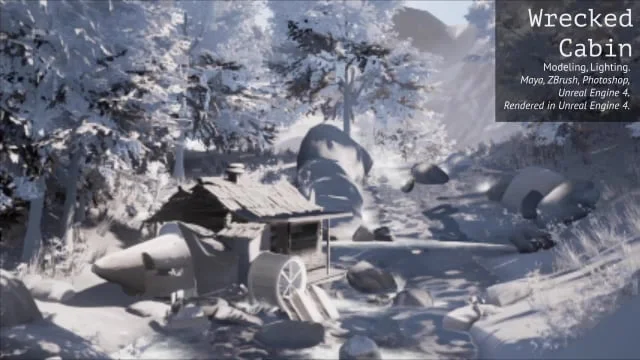
A game environment created in Fall 2016 with the goal of expanding a piece of concept art into a walkable game experience. This project was completed solo over a 13 week production schedule, and I was responsible for all modeling, lighting, asset management, and final build.
Software used: Maya, ZBrush, Photoshop, Unreal Engine 4.
Initial concept art by Olga Orlova. Find her work here!
I chose this piece because I had no experience with natural elements or outdoor settings in game environments. I wanted to learn more about working with trees or water.
Above are image from my process document from working on the Wrecked Cabin project!
Lighting Reel from February 2016.
Programs used:
Maya (Arnold renderer)
ZBrush
Unreal Engine 4
Substance Painter
Photoshop
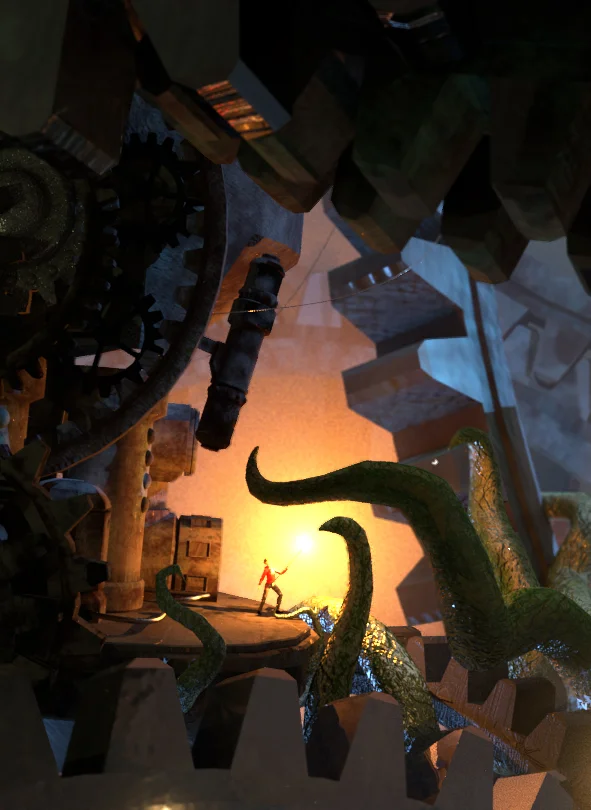
This was Project 2 for my Lighting and Compositing class.
I chose to recreate a 3D image from an original piece of concept art by Andrzej Sykut. His work can be found at: https://azazel.carbonmade.com/
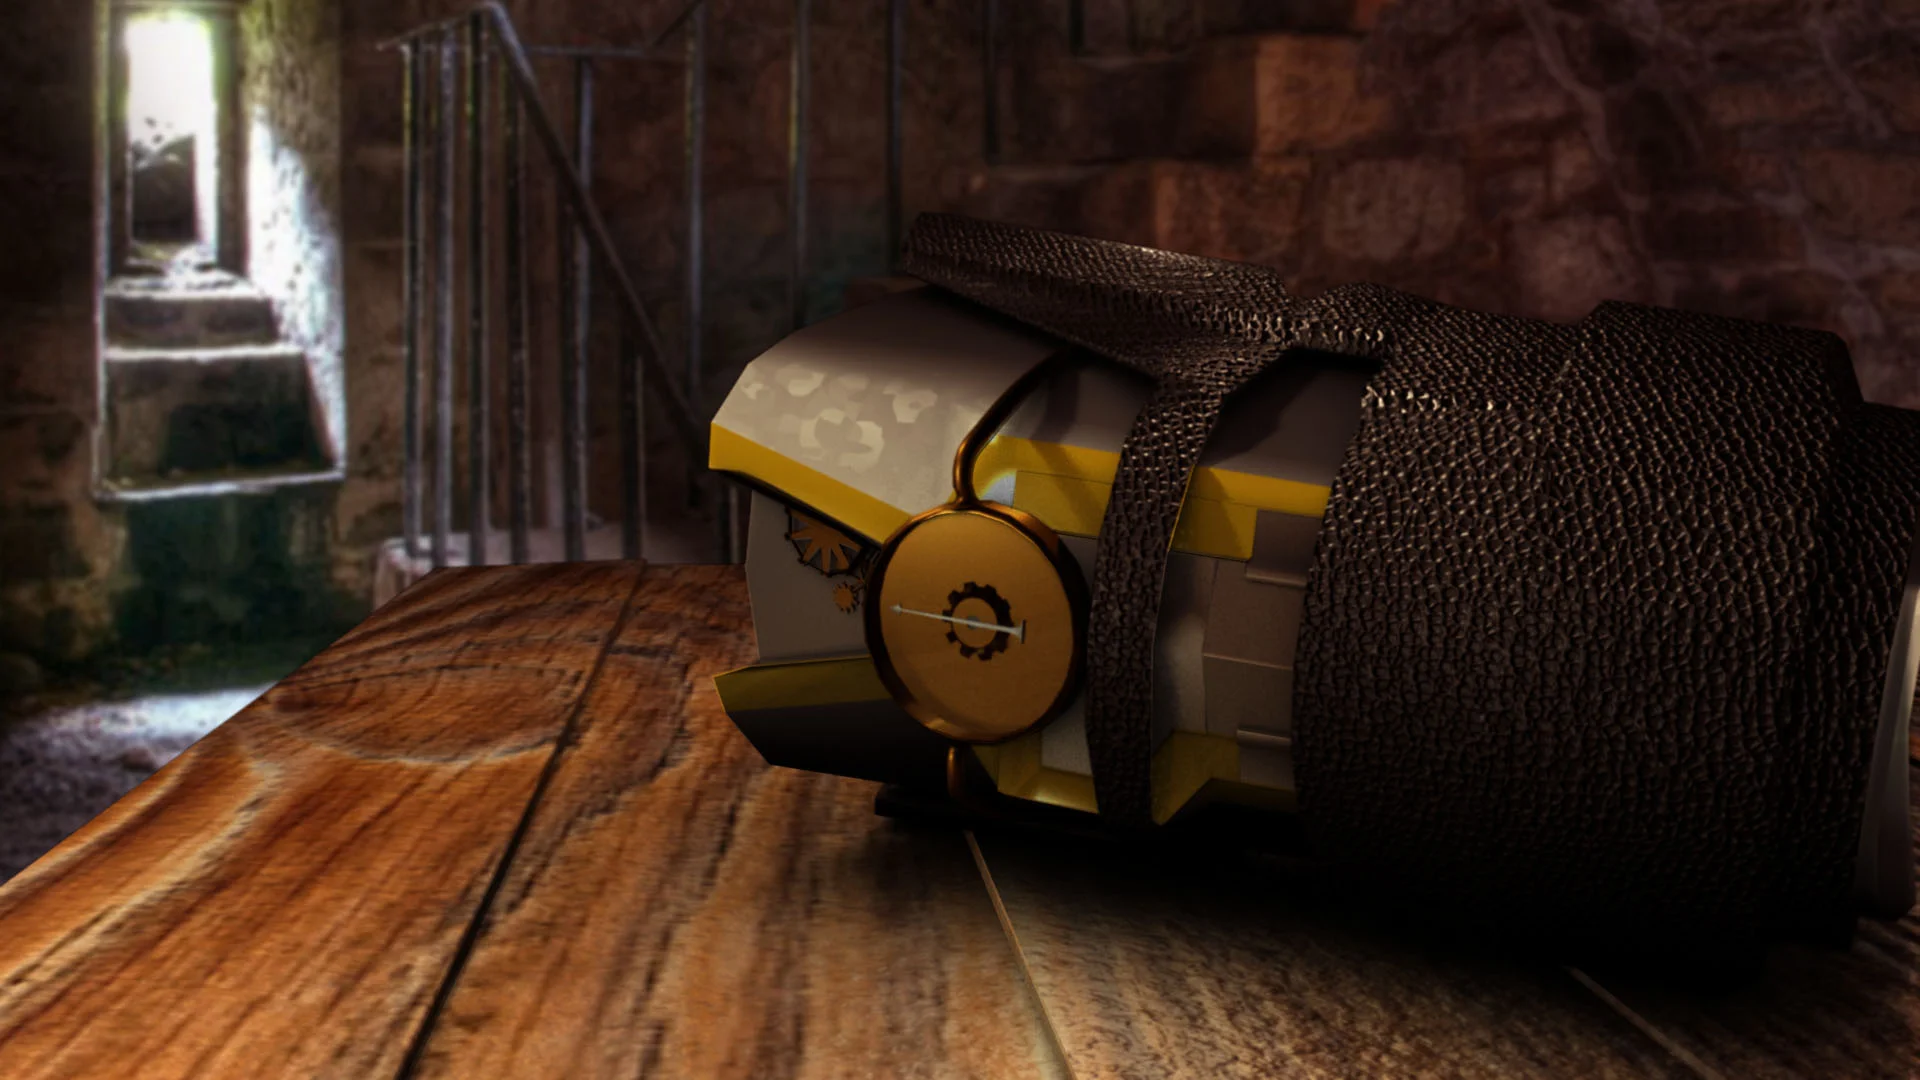
I modeled the set and painted my own textures using Maya and Substance Painter, then used Arnold to begin lighting and creating the scene. I tried to stay faithful to the color and composition in the concept art, but made a few minor changes regarding the torch that the figure holds and shifting some of the gears around.
The final composited image for my second project in Lighting and Compositing.
The layers involved in the final composited image.
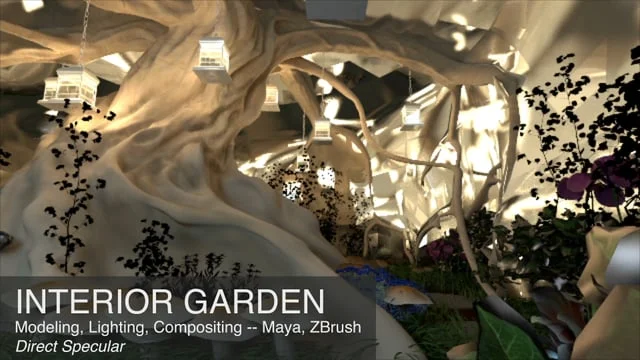
These renders were completed as a project for Lighting and Compositing class. The goal was to create an environment and then light it using natural lighting, man-made lighting, and then something miscellaneous. I chose to create an interior garden, built around a tree structure and surrounded by glass.
I modeled and textured the tree and then added the glass and the lanterns. I used pre-made plants in Maya's Visor in order to focus on the lighting while still achieving the environment I wanted.
Programs used: Maya, Z-Brush, Substance Painter, Photoshop, Arnold renderer
Rendered using only natural sunlight settings.
Here I chose to light the scene using the lanterns hanging off of the trees.
For my unnatural lighting I chose to work with bioluminescence, and chose to have plants illuminate my scene.
Ignite is a short film created by the Fall 2015 Animation Lab Team at Columbus College of Art and Design. It tells the story of a young Cheetal who is rejected by the herd for it's glowing tail, and come nightfall is attacked by the fearsome Sniger. The Cheetal must learn to use what makes it different in order to survive, and learn that sometimes that what makes us different also makes us stronger.
Created using Toonboom Harmony, Photoshop, and After Effects, Ignite took 4 months to complete from pre-production to final cut.
My role in Ignite was that of Technical Director/Animator. I primarily used After Effects to edit together completed animated scenes into a cohesive whole, and worked with animators to correct inconsistencies or any technical issues that may have come up along the way. Towards the end of production I also assisted in the final stages of coloring and lighting where needed.
Ignite Official Website: http://ignitefilmccad.wix.com/ignite
Twitter: https://twitter.com/ignitefilmccad
Screenshot from the title sequence of Ignite.
Screenshot of Cheetals interacting by the river.
Screenshot of the Cheetal facing off against the fearsome Sniger.
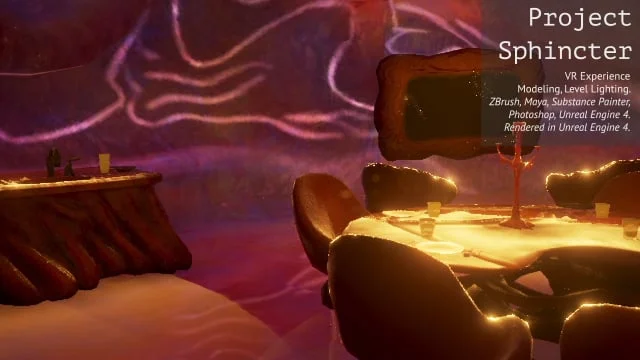
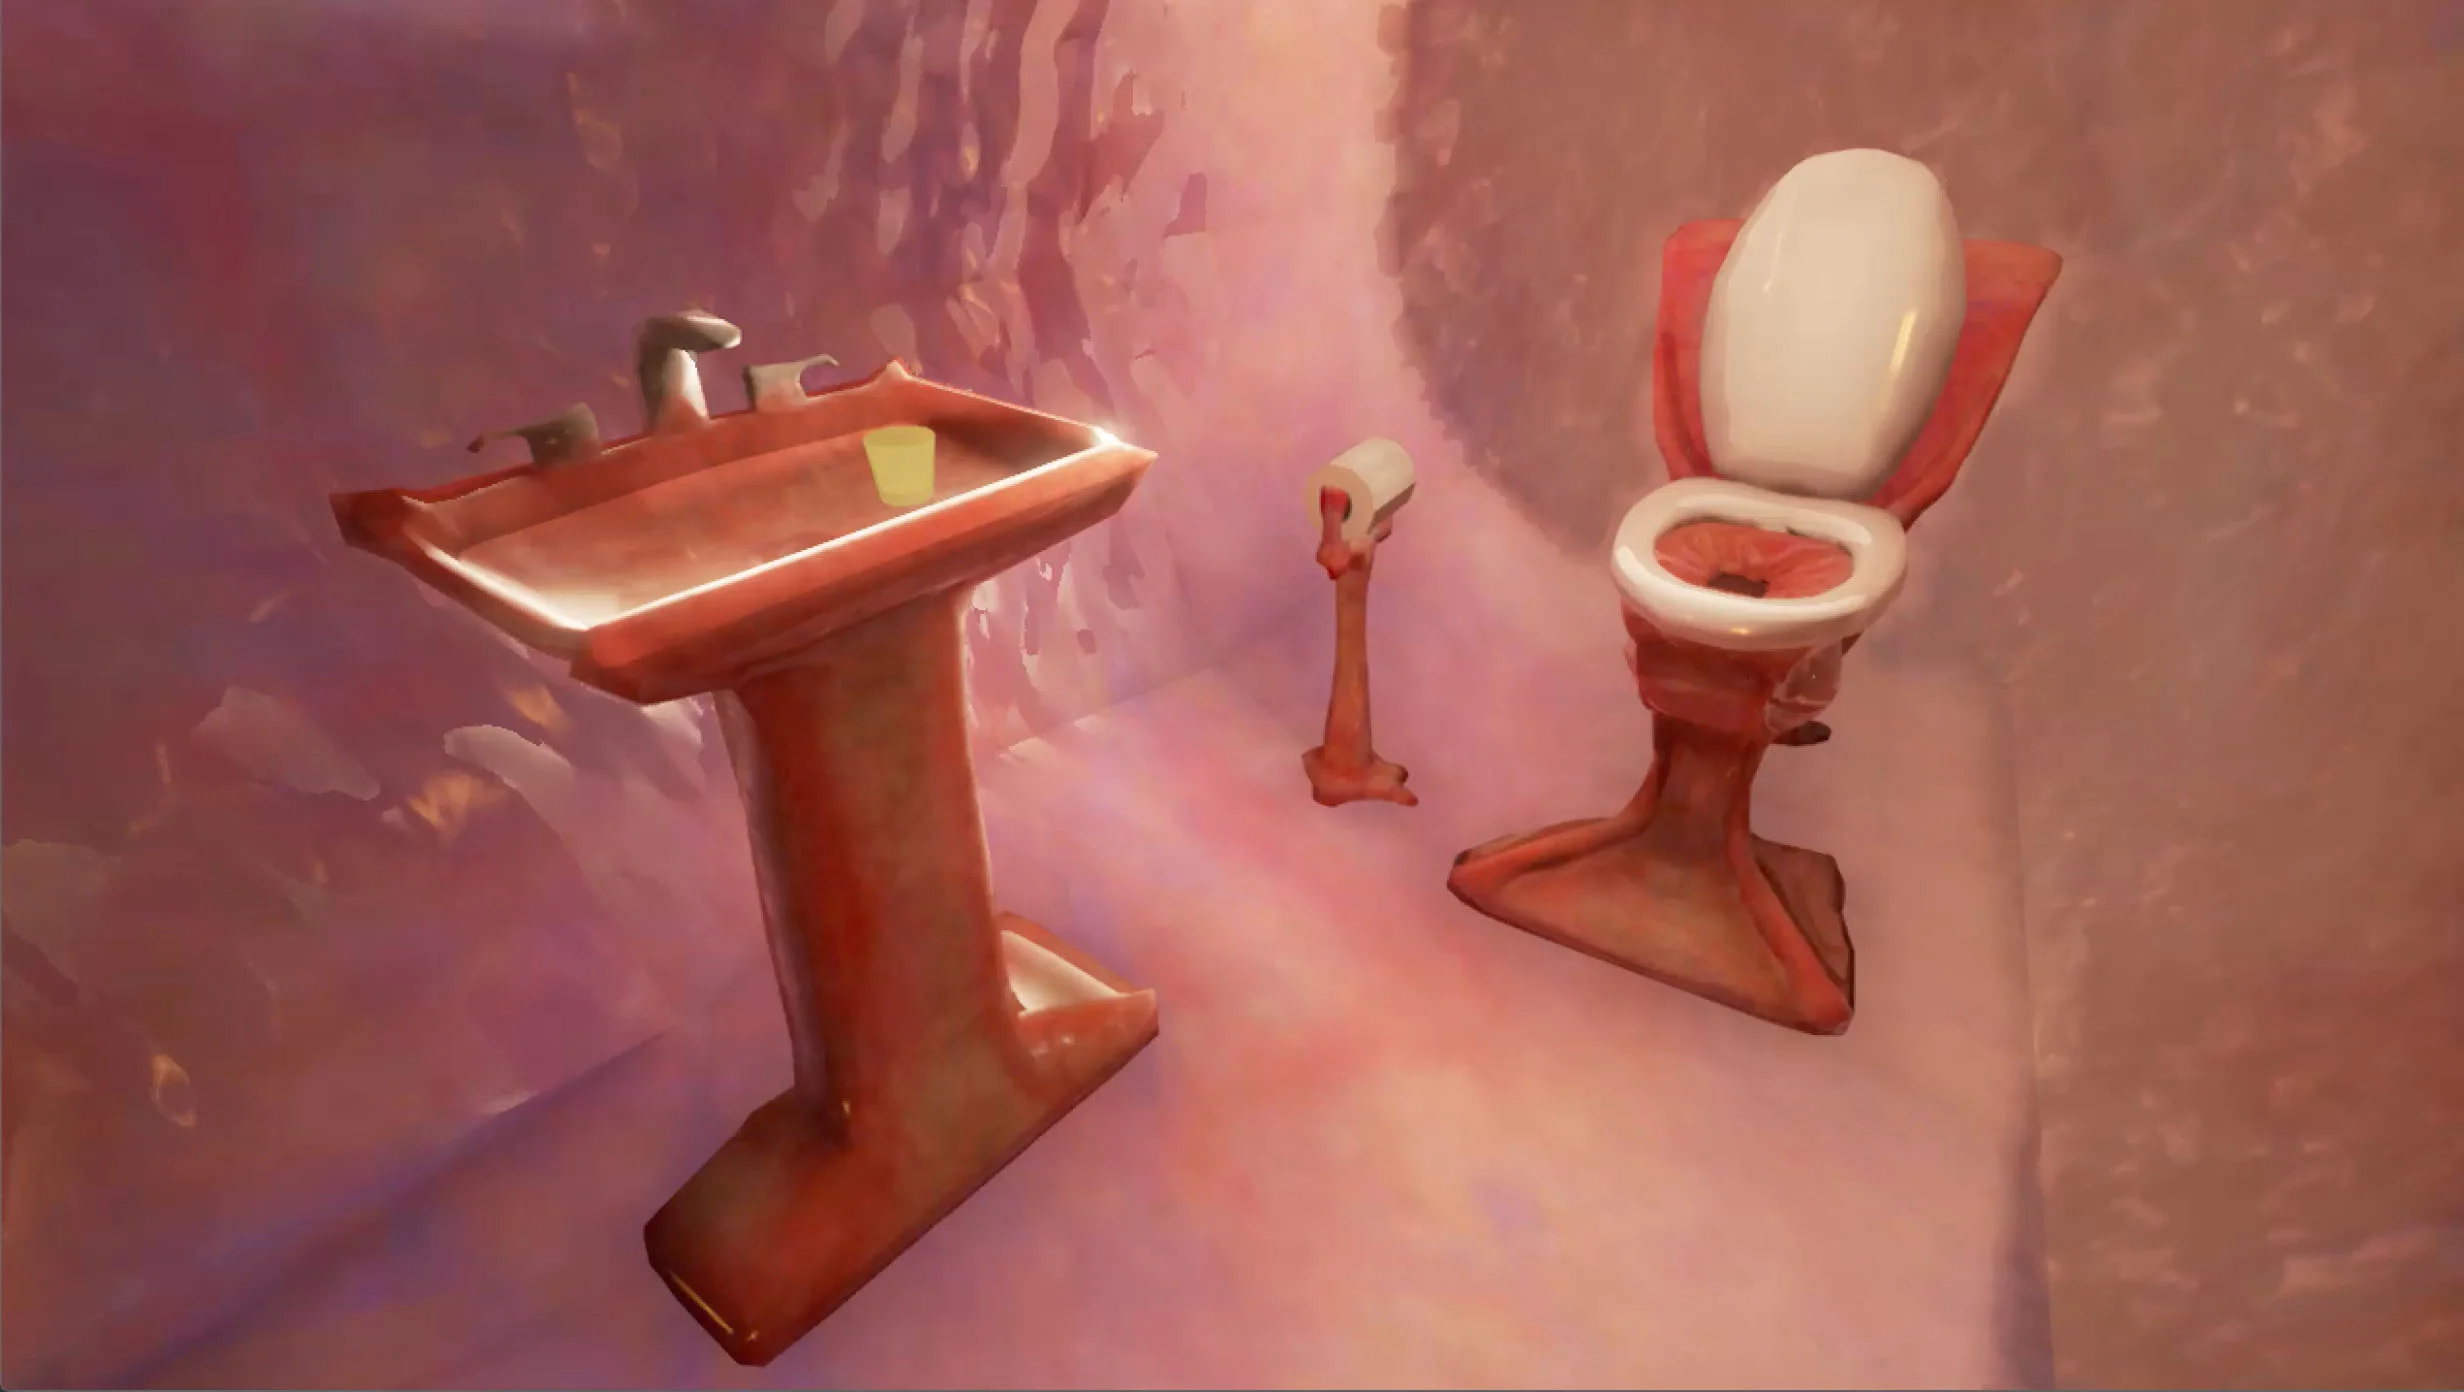
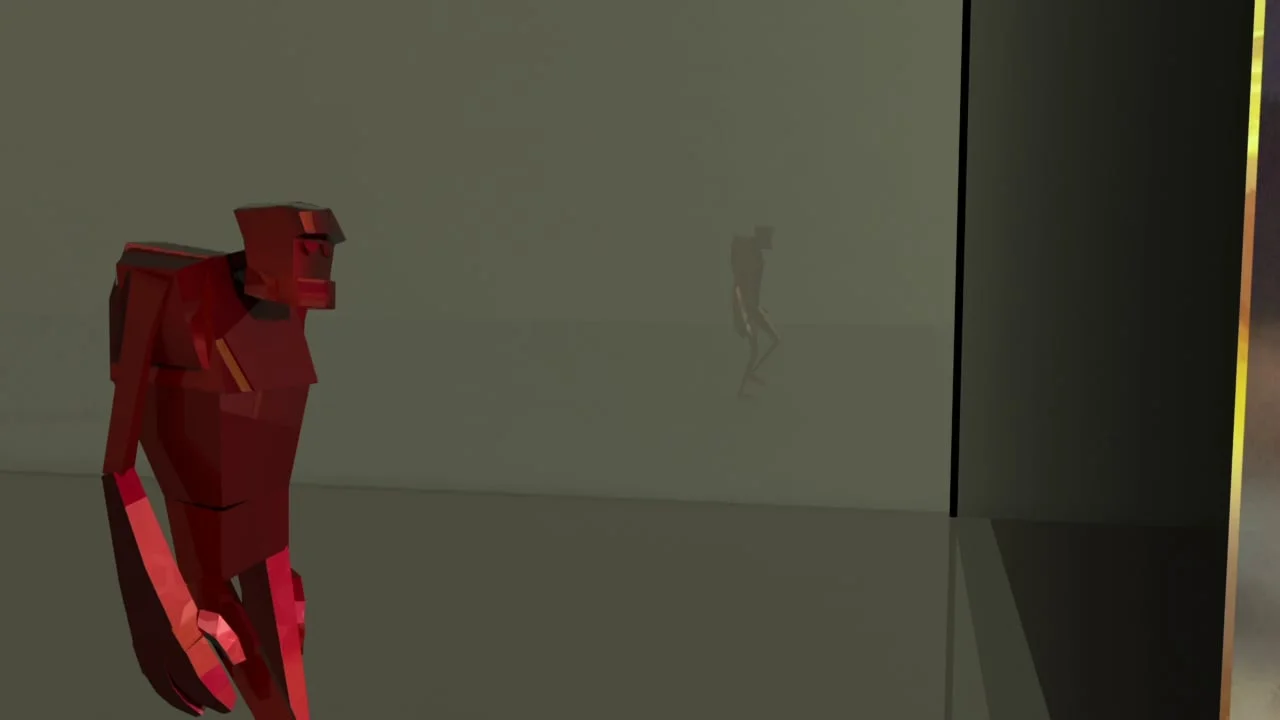
Project Sphincter is a virtual experience currently being developed for the Oculus Rift. The player is guided by a Realtor through a surreal apartment modeled after the human body. This project is still in progress and is expected to be complete by the beginning of December 2015.
My roles in the project are modeling, lighting, and FX work. I worked mainly on modeling the Stomach area, which in the apartment served as the kitchen, lounge area, and bathroom. Most of my time modeling was spent creating and re-topologizing the environment, but I also assisted in modeling some of the props for the area. Recently I have moved on to lighting in Unreal Engine 4, and will be focusing on lights and emissive textures throughout the game.
These models were all created using Z-Brush, Maya, and Blender, and are being put together in Unreal Engine 4.
Click here to access our progress blog for Project Sphincter.
A final reel I made showing the work done on Project Sphincter. I was responsible for the environment modeling in the Stomach, various prop models throughout the bathroom and lungs, lighting throughout the entire level, and cleaning up the level by applying updated textures or rearranging models in the environment.
In-game screenshot of the bathroom area, fully lit and textured.
In-game screenshot coming down the stairs from the brain.
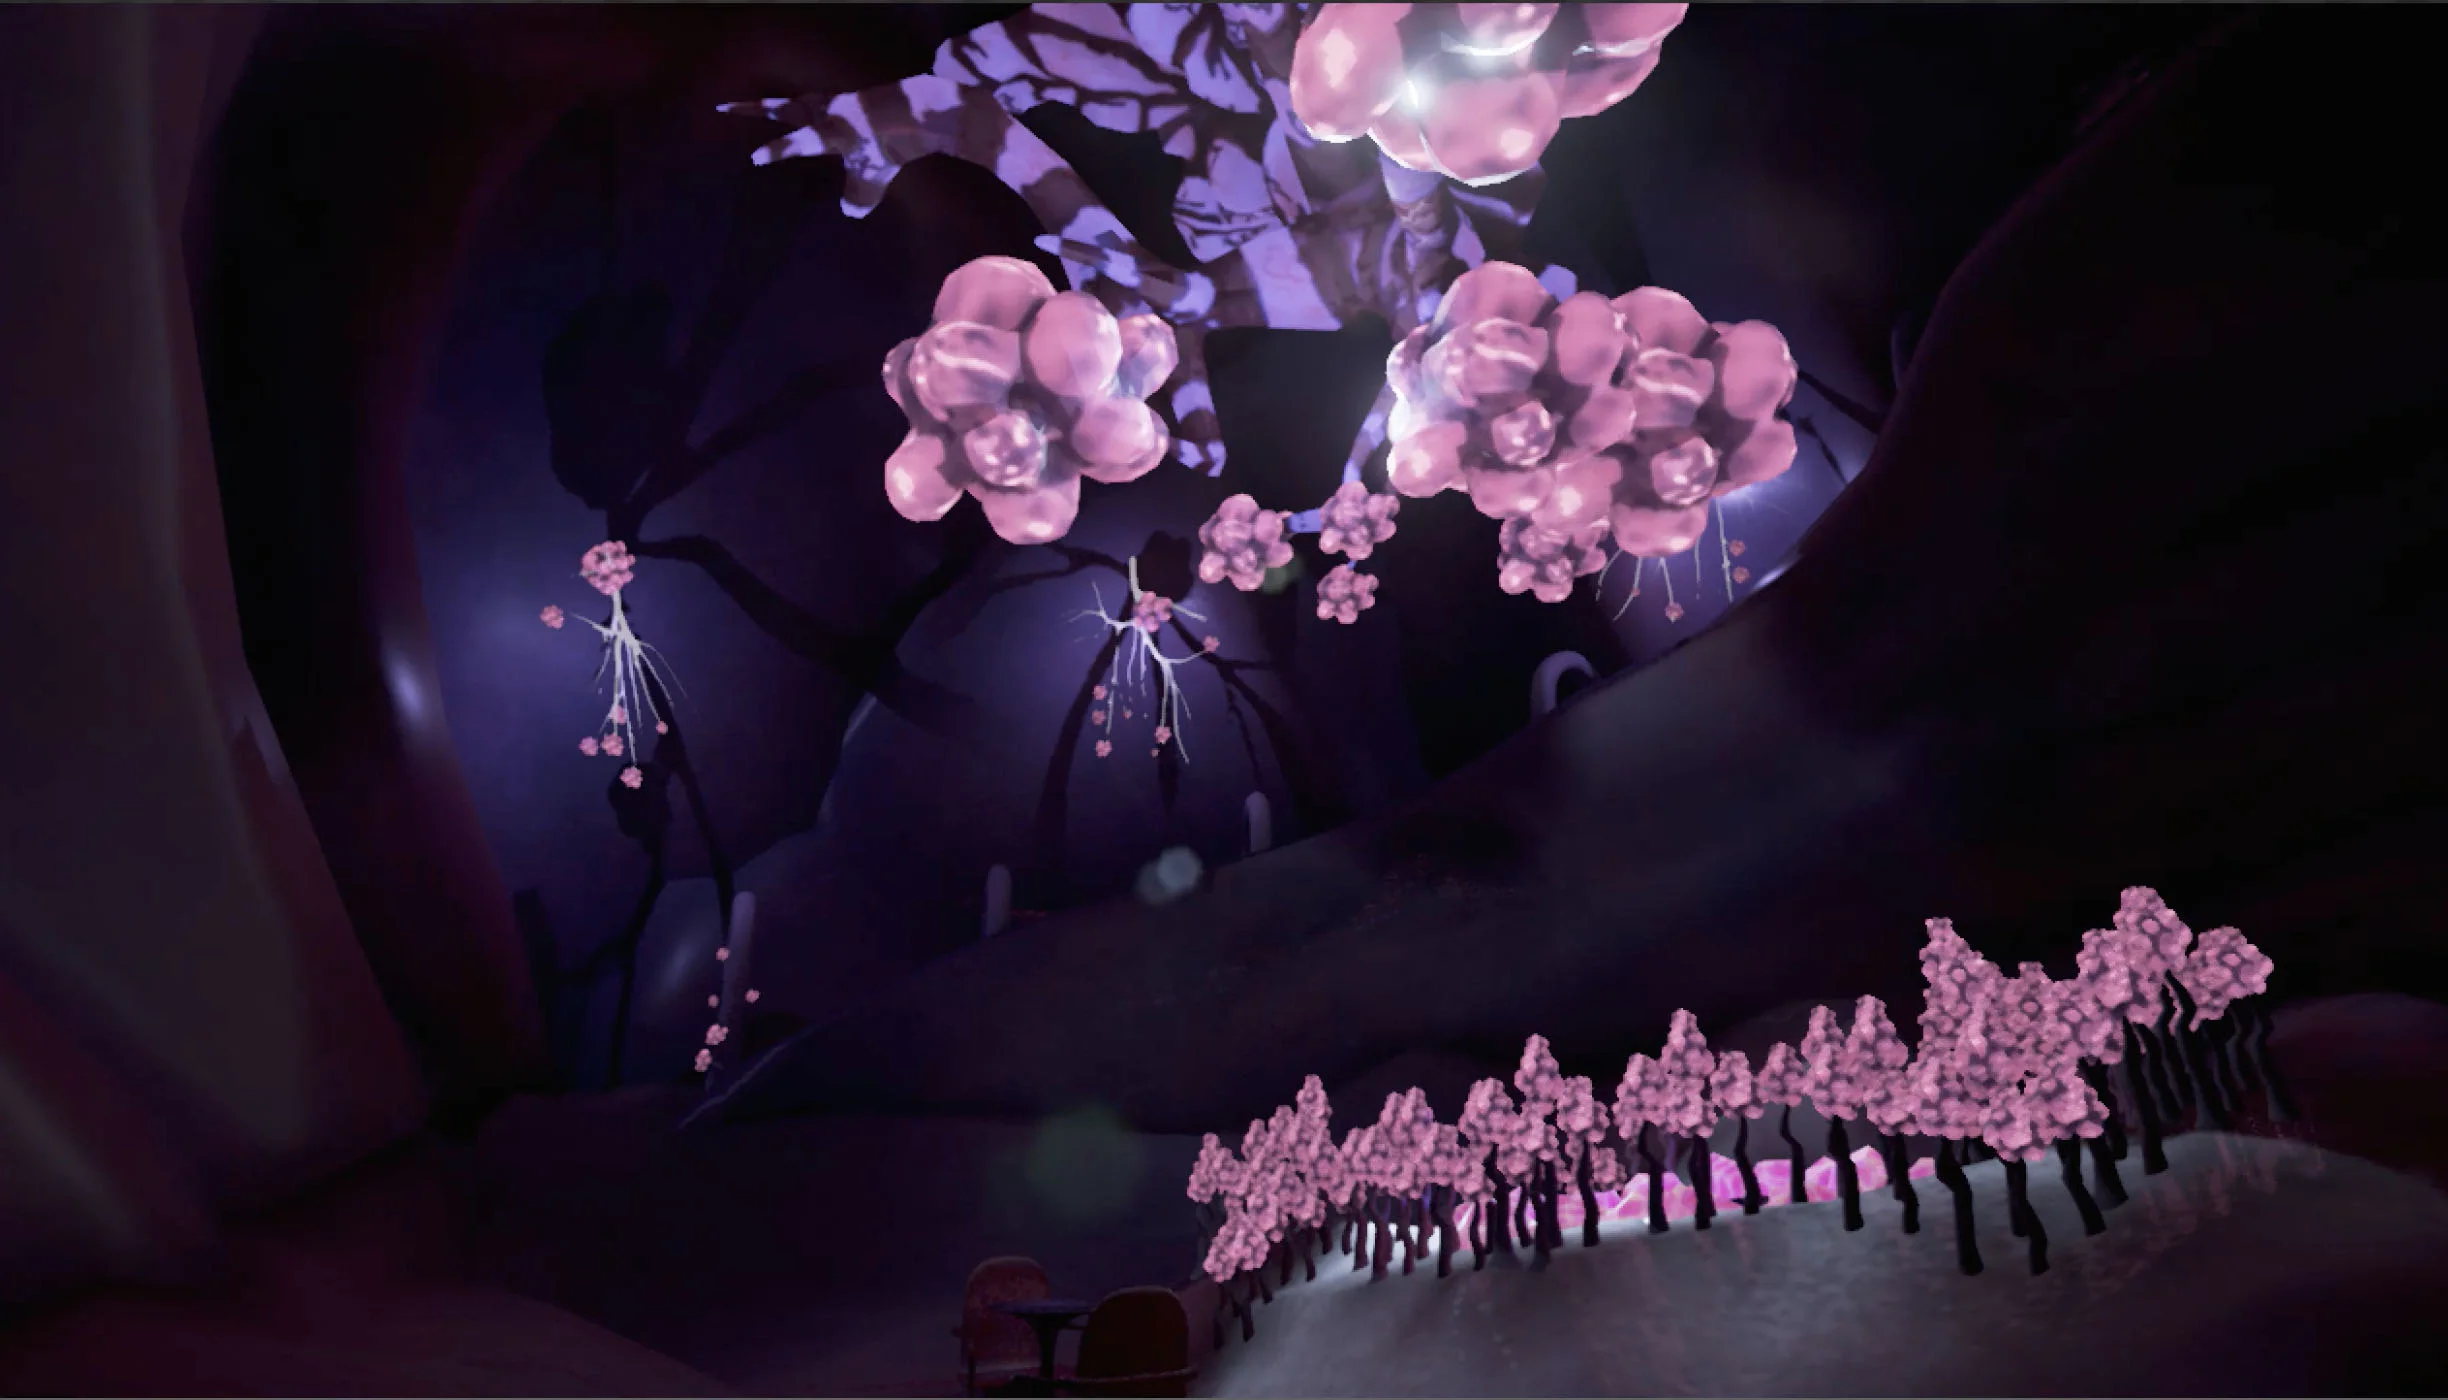
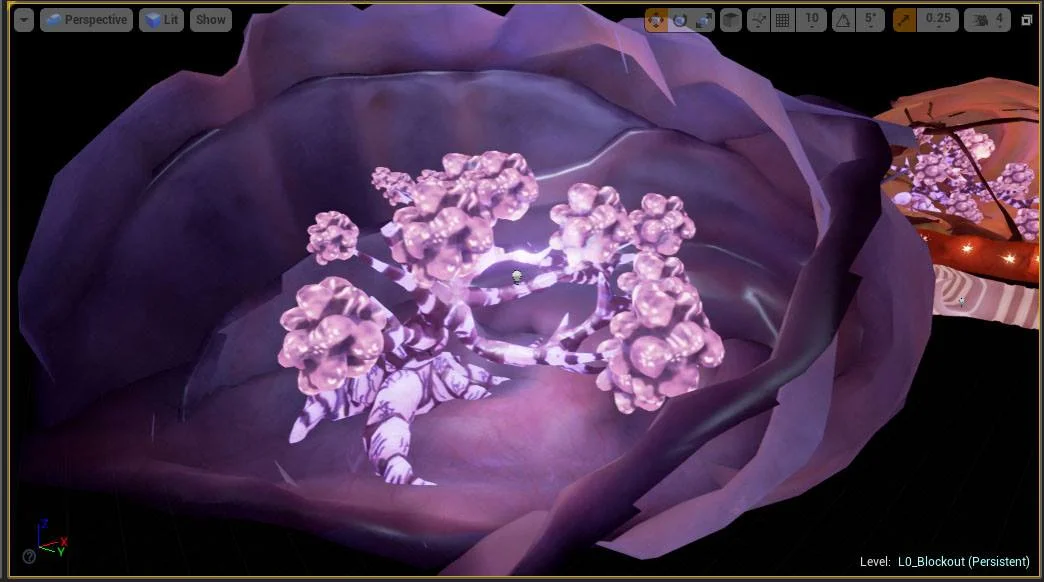
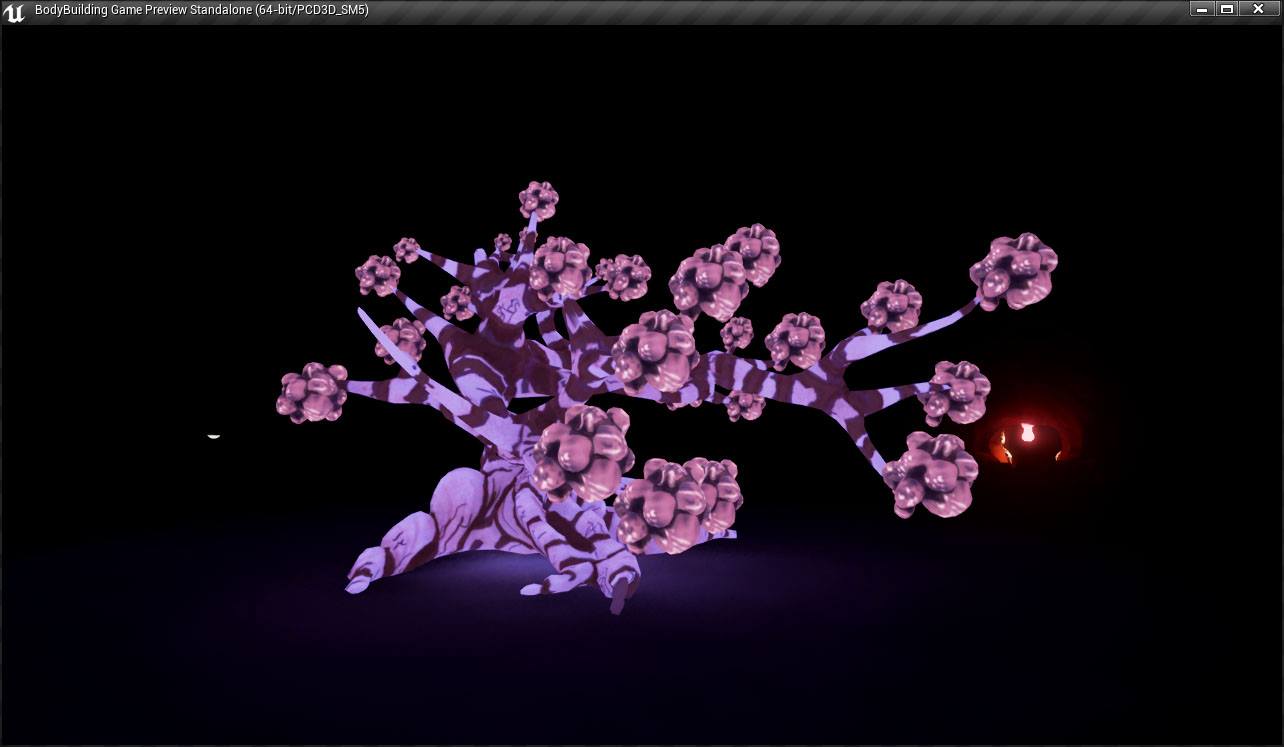
In-game screenshot of the left lung, fully textured and lit. New elements using the alveoli were added to create more of a garden effect.
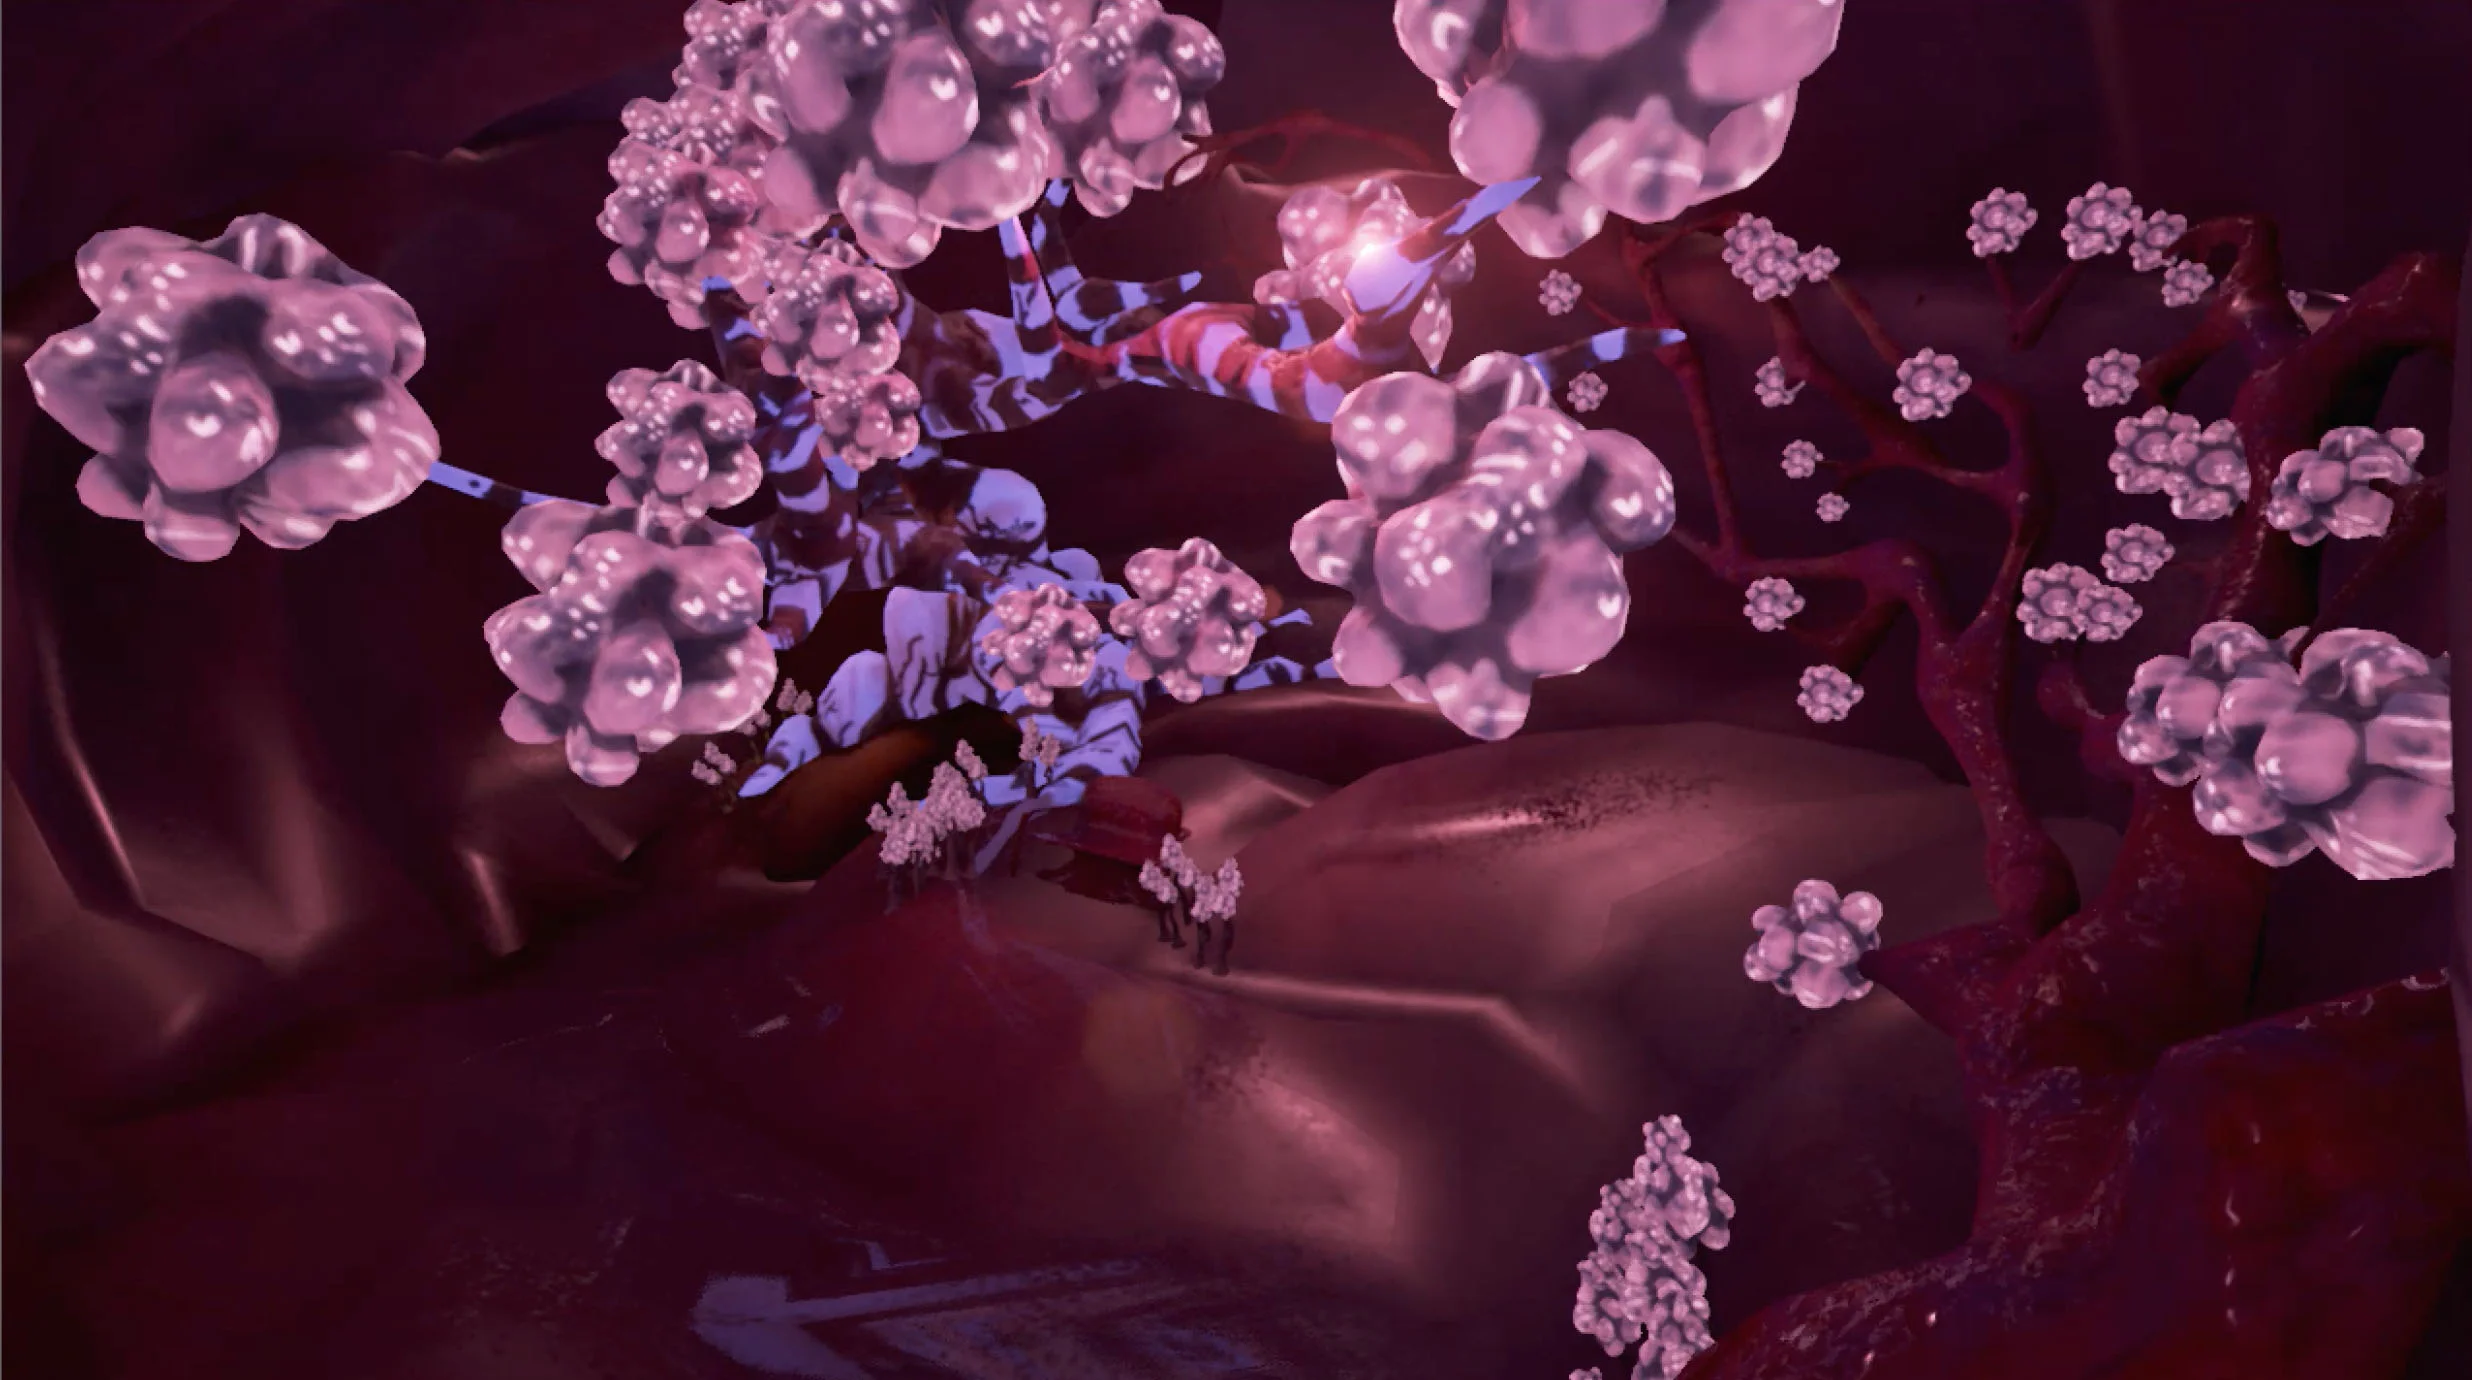
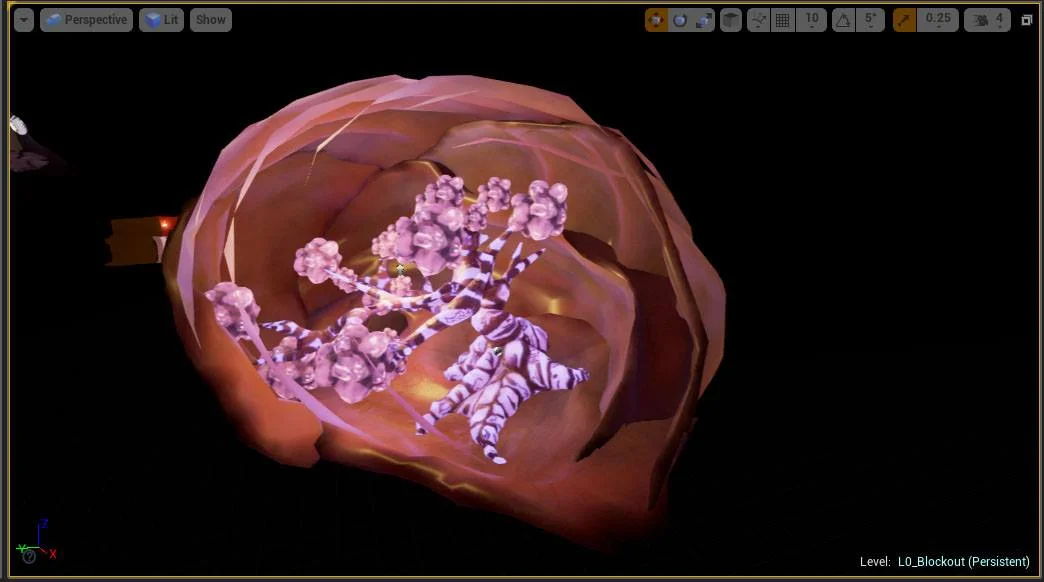
In-game screenshot of the right lung, fully textured and lit.
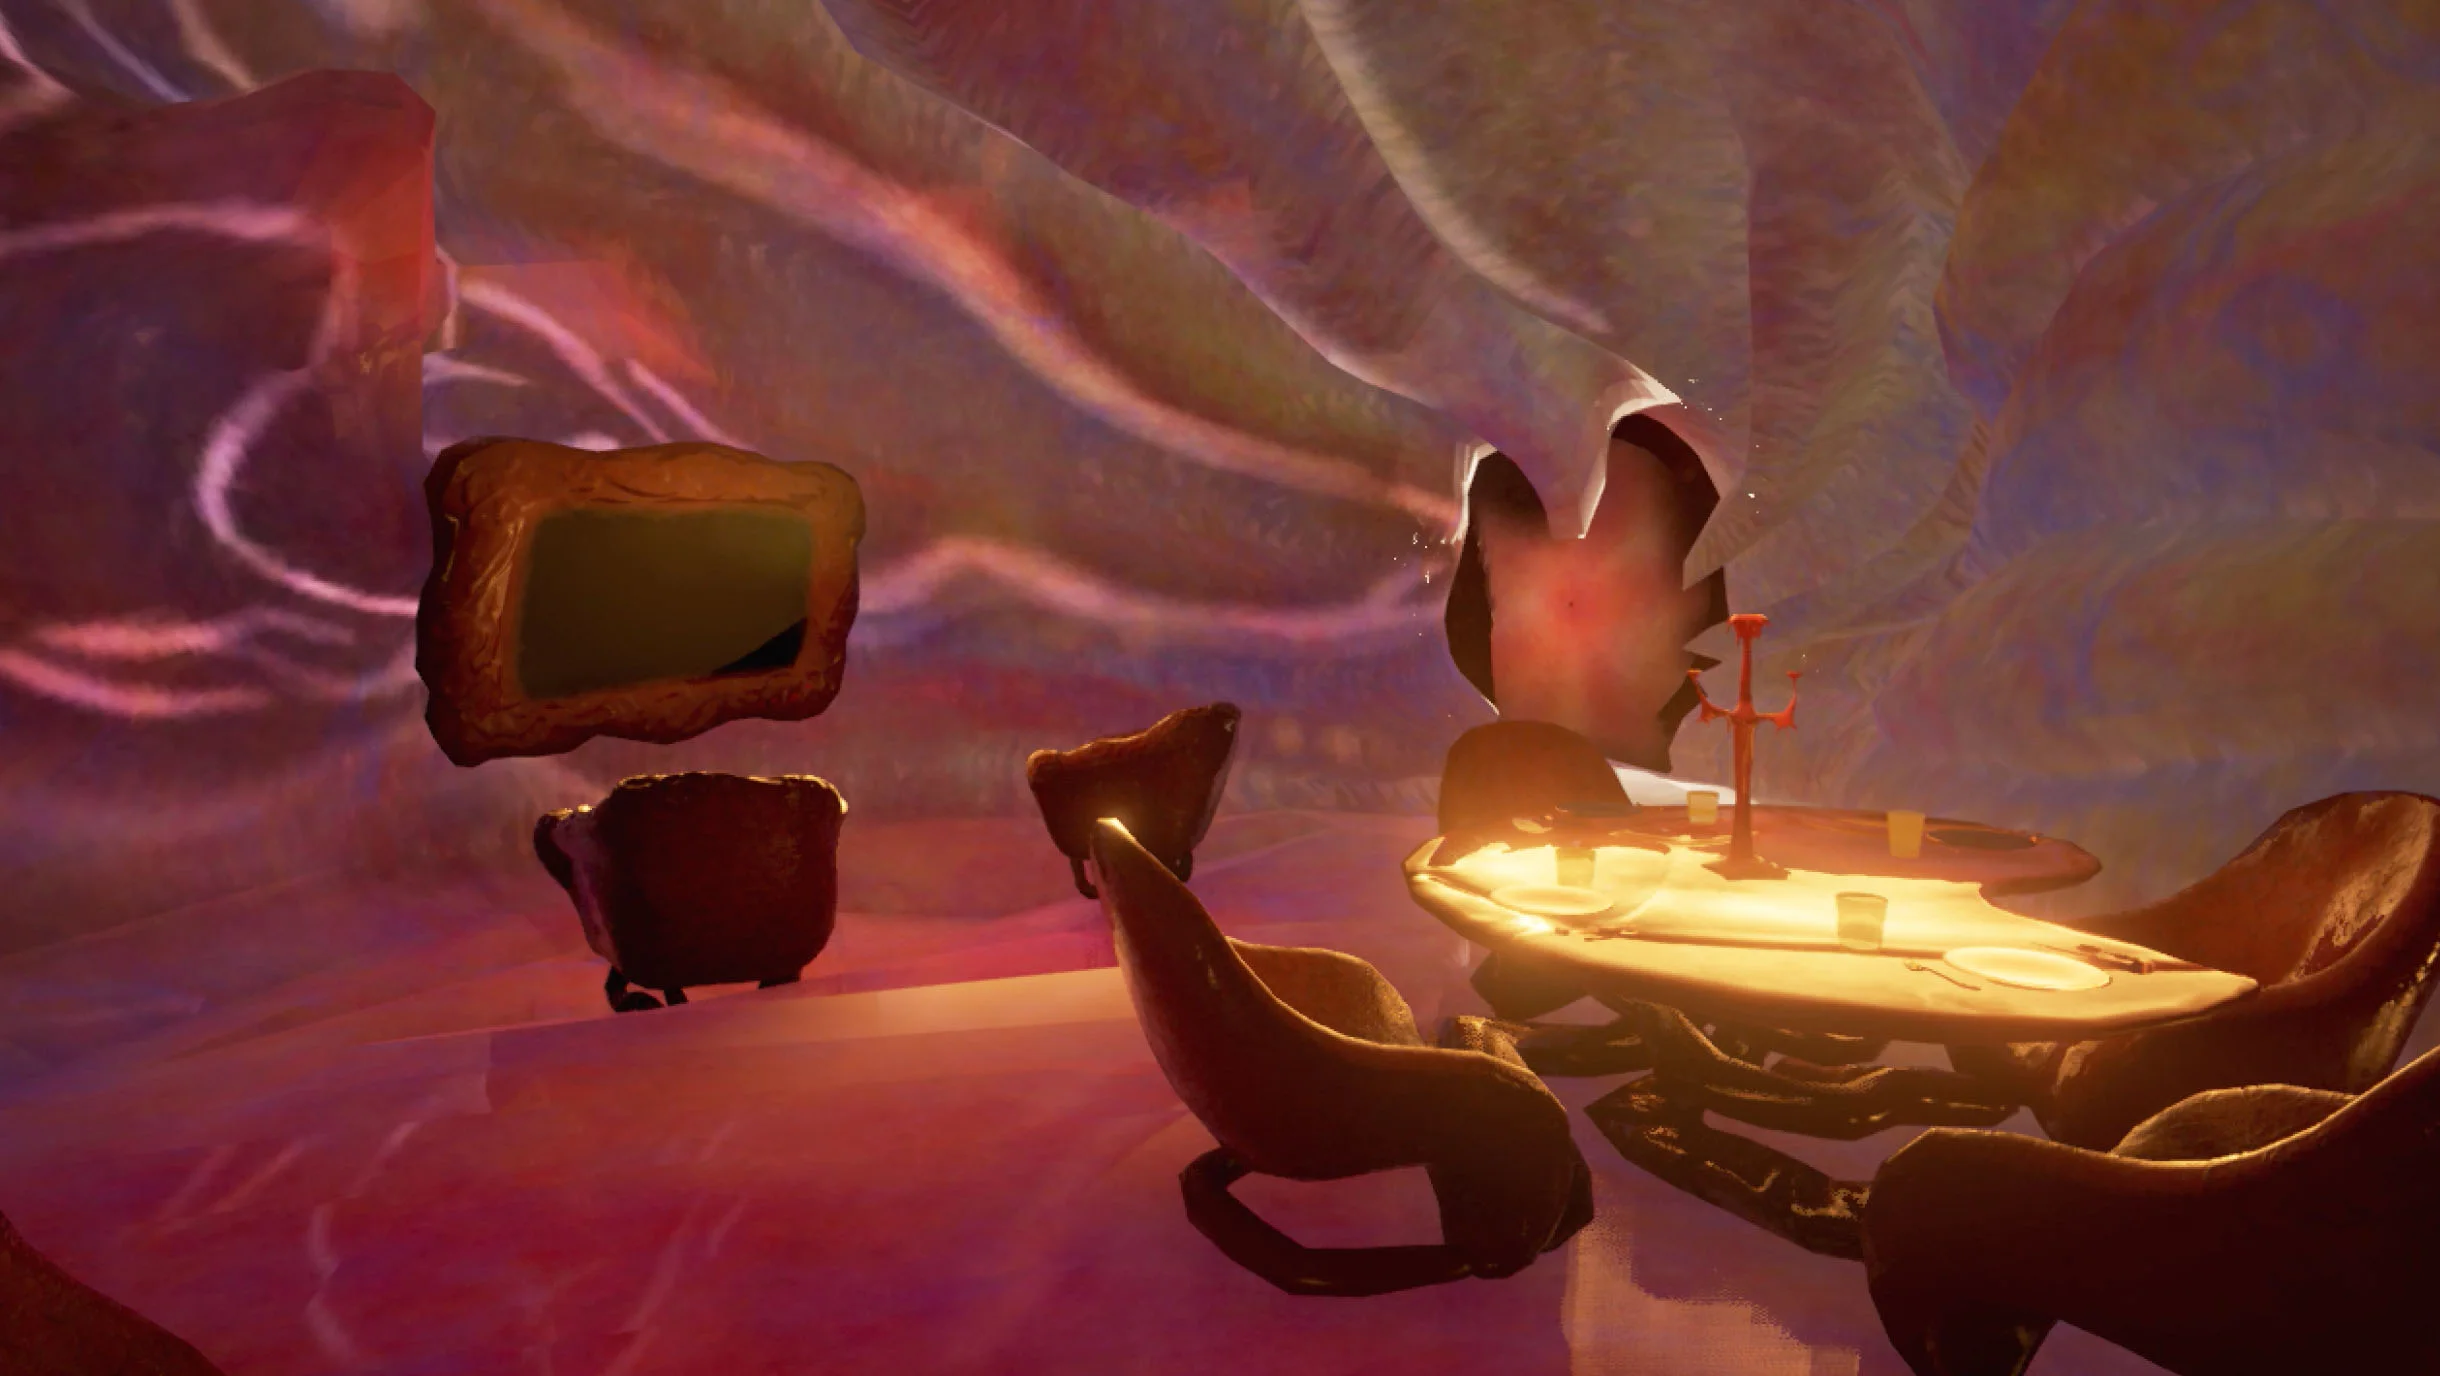
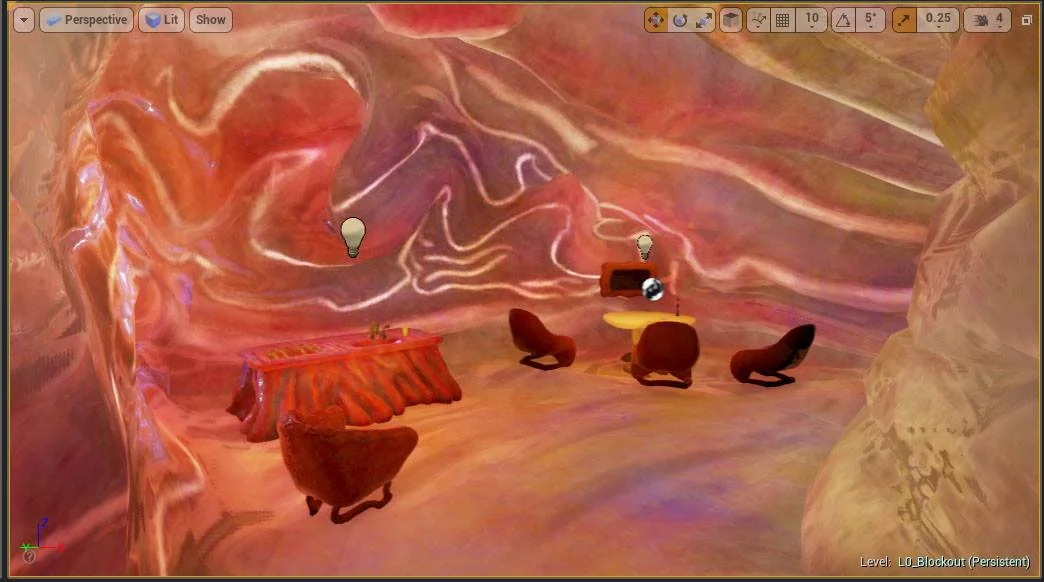
In-game screenshot of the stomach area, textured and fully furnished. Going through the sphincter door in the back provides entry into the bathroom.
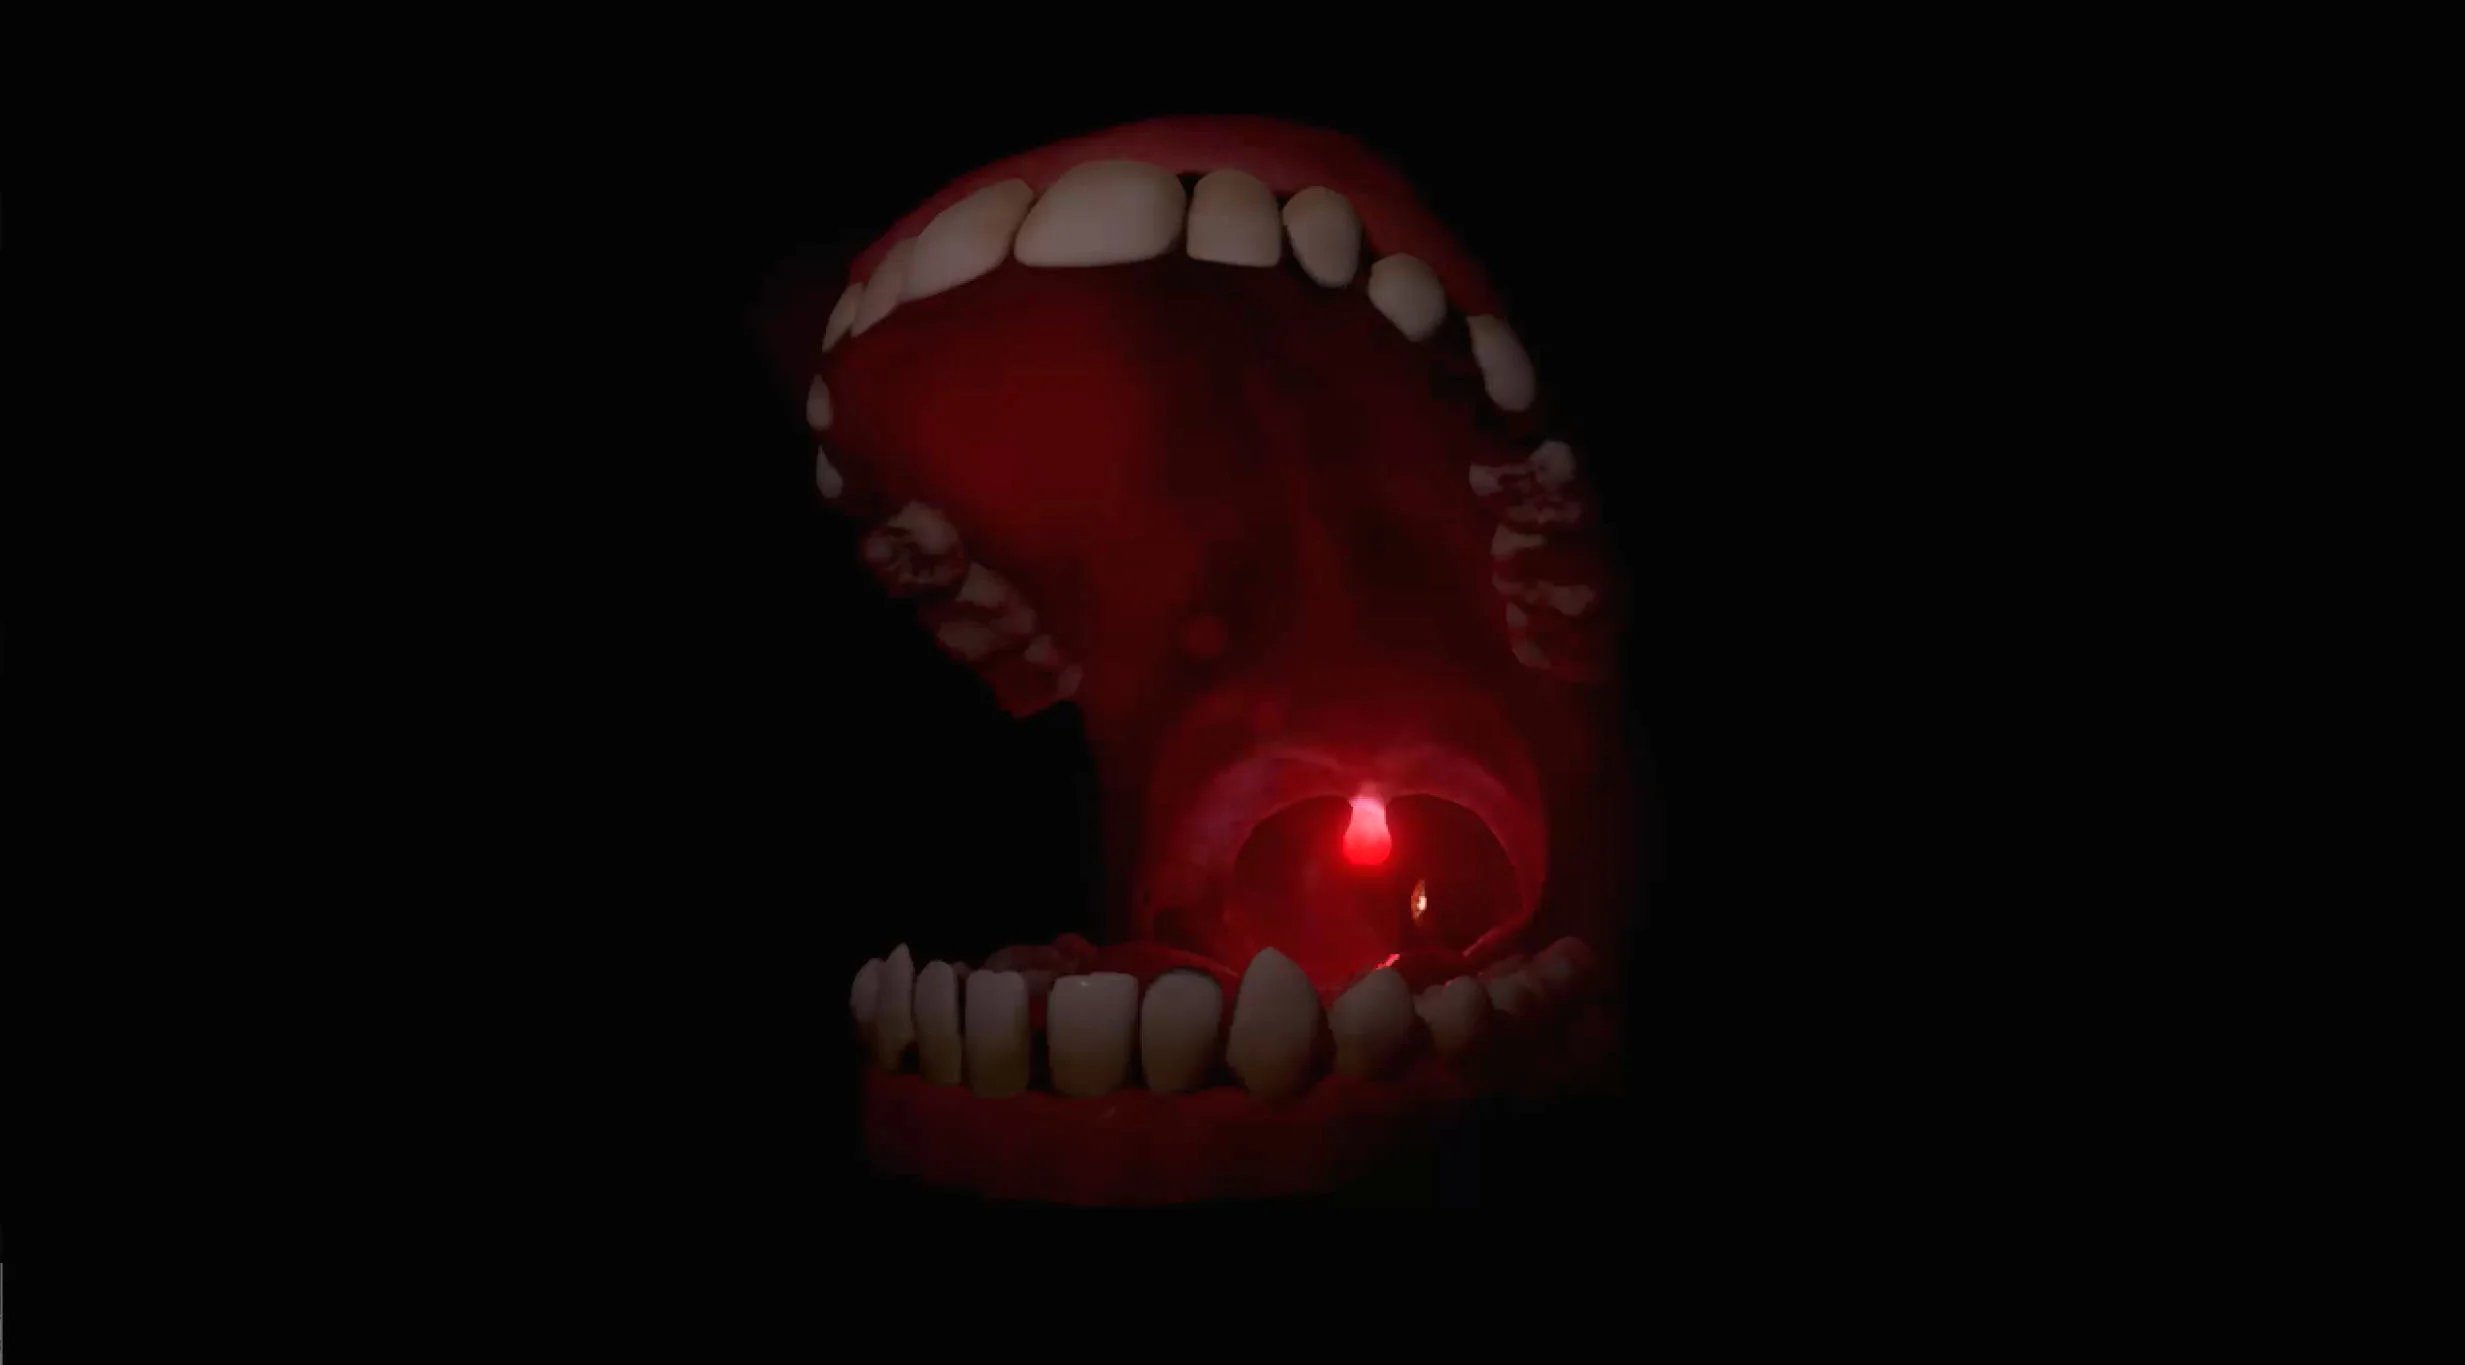
In-game screenshot looking towards the mouth. Fully textured and lit.
Emissives and area lighting in the "party" lung of the game.
Emissives and area lighting for the other lung in the game.
Stomach screenshot with the emissive textures and lighting turned on.
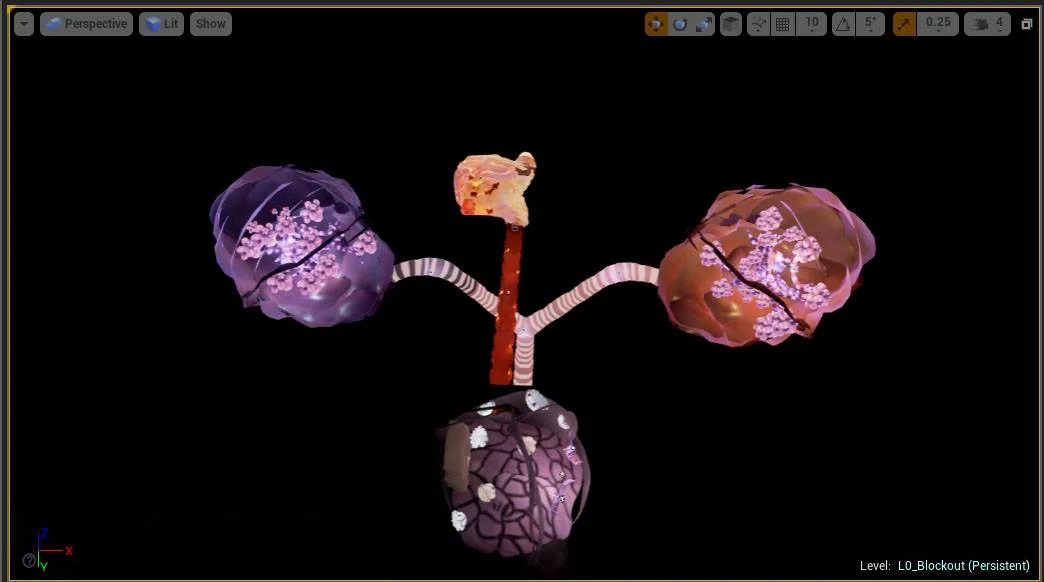
A screenshot in UE4 with an overhead layout of the level with the lighting turned on.
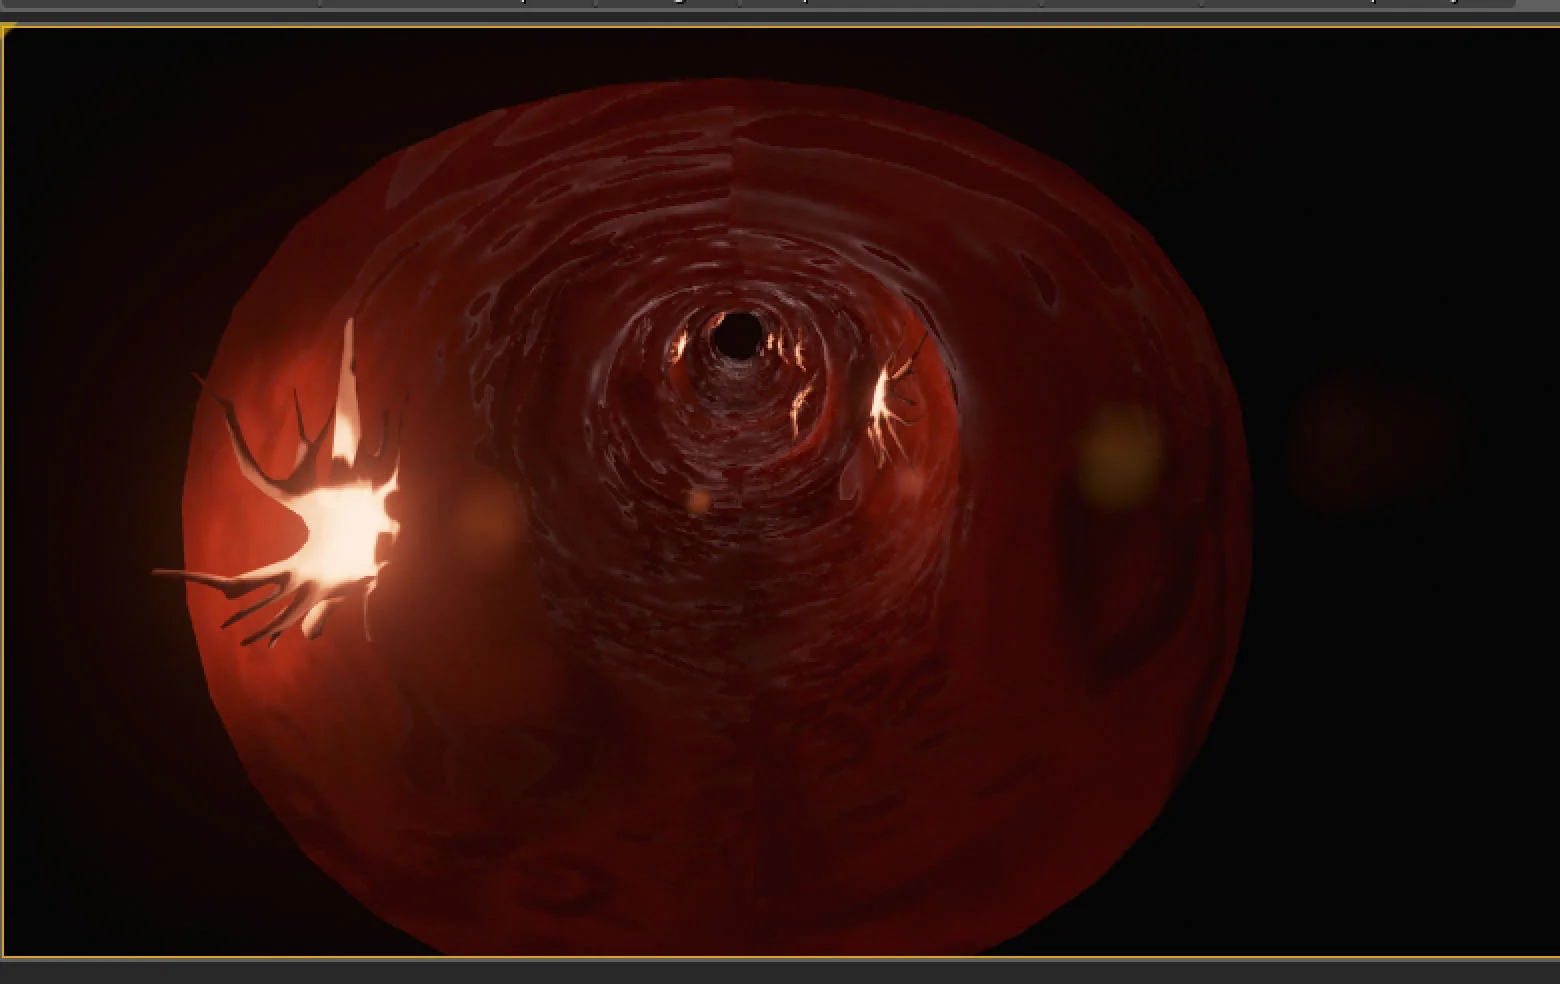
An in-game screenshot of the esophagus hallway, textured and lit with emissive lighting.
Assembly of the Alveoli onto the Lung tree. I dialed down the emissive texture on the trunk and branches, and created some size variation on the Alveoli.
I was responsible for the emissive lighting throughout the game, and this was the model I used to figure out the process. I was able to mask out the areas I didn't want lit to create a light out of the uvula. This was the lighting test done in UE4.
The material editor for the Mouth, showing the setup for the emissive lighting I will be using throughout the game.
A snapshot of the materials test for the Stomach, after applying the Normal Maps in Unreal Engine 4.
My general overview layout of the stomach from the concept stage.
Different layouts and possible designs for the stomach during the Concept stage.
Sketches from when the stomach was still going to be a den with a bar. It was later decided that the stomach should be a kitchen and lounge area.
Early door designs for the hallway that the player appears in.
An early concept of the hallway layout.
This was a 5 week modeling project assigned for a Modeling and Surfacing class. We had to create a 3d model from a 2D character, in this case Sir Ector from The Sword in the Stone.
The model was sculpted in ZBrush, re-topologized in Maya, and then rendered in Maya using Arnold.
This gauntlet was designed as part of a modeling project to learn image compositing and rendering.
Based on the hidden blade weapon from the Assassin's Creed series, this project was completed in Maya over the course of 3 weeks.
The final rendered image of the Gauntlet.
Here I have quick sculpts from practicing facial anatomy in Z-Brush. The renders were done using V-Ray, and I was able to play with the V-Ray Skin settings.
I also included gesture and figure drawings from Cafe Sketch. These sketches come from locations all over Columbus, and the last group come from the Columbus Zoo.
These renders were used as practice working with the settings for the V-Ray skin material.
I used Harrison Ford's nose as reference during modeling, and rendered in Maya using V-Ray.
9 models of ears, modeled in Z-Brush and rendered in Maya.
9 eyes modeled in Z-Brush and rendered in Maya.
Some drawing cleanups from my gesture sketches at the Columbus Zoo.
Drawn 10/26/15 at the Ohio Renaissance Fair.
Drawn 9/11/15 in German Village, Columbus, OH.
I started off at Thurman's Cafe, and then drew some afternoon guests at Schiller Park.
Drawn 9/11/15. These are warm ups from class before going out to German Village, using music videos for reference.
Drawn 9/4/15. These are from the North Market in downtown Columbus.
Drawn 9/4/15. An in-class warm up before going to the North Market to sketch. We used music videos for reference and focused on creating compelling silhouettes.
Drawn 8/28/15. These are from wandering around Easton Mall. We started sitting outside of Five Guys, and then moved to sitting at the Fountain.
Drawn 8/28/15. This was a set of warm-up gestures completed using the Pixelovely site as reference to learn about drawing a Line of Action.
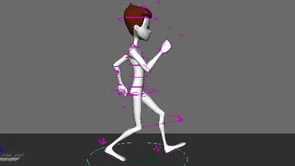
One of my early animation exercises, using a free rig. We had to create a character with an expressive motion. In this case I chose an escaping robot.
09/28/14
Basic walk cycle with free rig.
09/15/14